
These stitches are absolutely delightful, they puff up from the surface of the fabric, you can make them in any colour, or mix colours, fill them with beads or other stitches to turn them into flowers - and they are really easy to make!! It's a very satisfying stitch so I thought I'd write down a little tutorial to talk you through it.
In these photos I'm preparing lots of little embroideries which will be cut out once fully stitched and framed in tiny craft hoops (to explain why there are strange scraps of fabric all in the one hoop). Each little section has three woven wheel stitches, fly stitch leaves and will be filled with three beads per flower. At the bottom of this tutorial I have photos of the woven wheel stitches used in other projects as well.
How To:: Make a Woven Wheel Stitch
So then! My top tip for an even wheel (and this does depend on your project) would be to draw out the size of the finished wheel/flower onto the back of your piece. Whatever size you draw will be the finished size of the wheel. If you aren't going to see the back of the project then you could use just a biro or pencil, but you could also use an air erasable or heat/water erasable pen if you don't want there to be lines on the back at the end.
♡ Don't forget when drawing on the back that the front will end up a mirror image so if you are wanting your wheels in a specific placement, draw them as a mirror image on the back so that the front will be correct.
Once you have your circle drawn out, you need to divide it into five fairly equal sections and again I find this easiest to draw out on the back as you can move them/re-draw them as needed. You are using these 'spokes' as the template for your stitches.
(If you are doing a HUGE woven wheel stitch, you can use more than five segments, just make sure they are always an odd number otherwise the weaving won't work.)
♡ If you want to have a space in the centre to fill with beads/knots etc, make sure that when you stitch your spokes they don't go all of the way into the middle. If you want a really small hole/no hole, you can start right at the centre so your spokes meet each other.
♡ You can use any thread and thickness for these stitches but if you use a really thin thread then it might take longer to weave in and around to build up the wheel. For these flowers - which are about 1 - 1.5cm across (1/4 to 1/2 an inch), I would use 3 strands of a stranded cotton or similar. You want to be able to build up the layers for height so too thick a thread would also look slightly different (but would be good for really big stitches).
Take your needle and, working from the back, push it down through the fabric at one of the ends of the spokes. You need to translate these spoke stitches onto the front of the hoop with your thread so follow your drawn lines and make straight stitches up and down each one (so that the thread appears on the front of the hoop - it make look a little odd from the back!)
♡ I would recommend starting your stitch at the outer edge if you are beginning with a knot. That is so that when you come to stitch in a centre - beads or french knots for example - you haven't already got a thread knot there to get tangled up in.
This is what the front and back might look like once you've finished stitching the five spokes. Ideally each spoke should be evenly spaced and also the same length to make a nice round wheel.
(If you have a spoke that's shorter it would likely create a dimple on one section of the wheel, and if much longer then it will poke out of the finished wheel, although you could cover this with something else.)
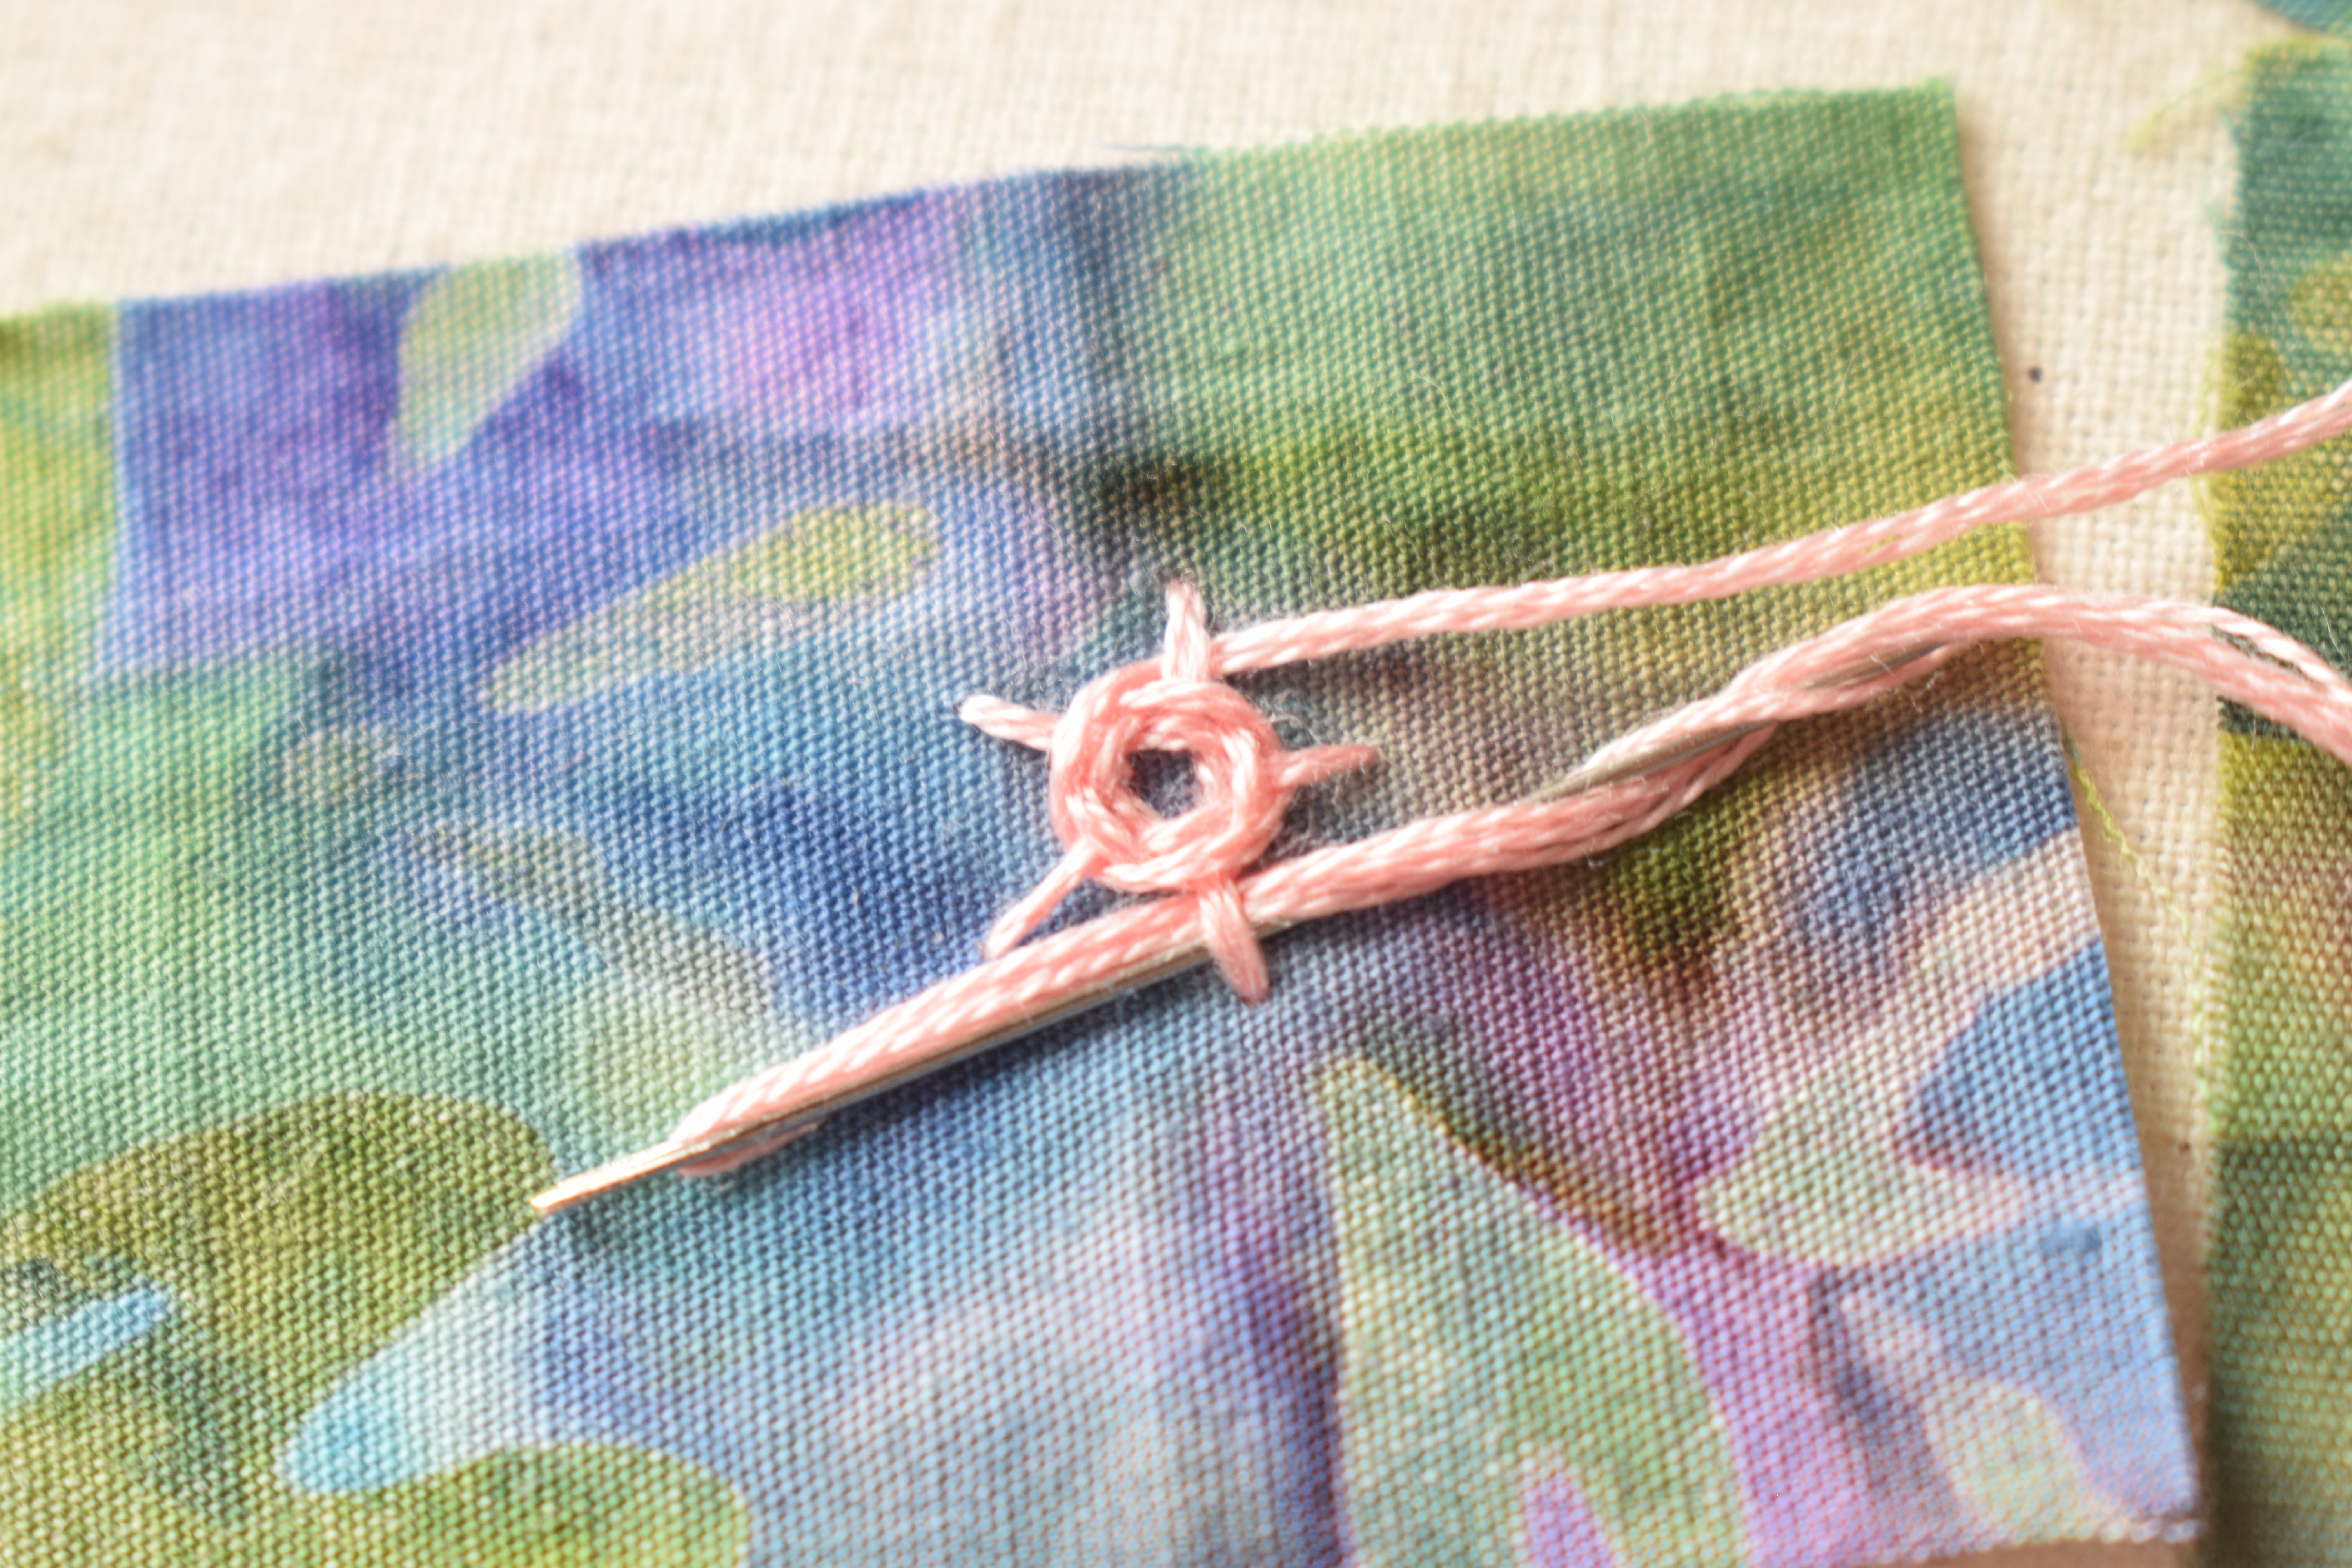
Once you have your foundation stitches, you can just carry on using the same thread (no need to knot off that first part) and bring your needle up at the bottom of one of the spokes/centre of the wheel.
It doesn't matter which direction you go in, but slide your needle underneath the spoke nearest to it to start and pull the thread through. From there on you weave your needle over and under each of the spokes, working around the circle.
♡ Rather than weaving through with the point of the needle first, you could try turning your needle and using the eye to slide underneath each spoke. The blunt end won't get caught up in the fibres of the fabric and thread so it can make it easier to slide - just watch your fingers at the sharp end!!
♡ As you work round, try not to pull the thread too hard as you go. You want the thread to be able to overlap itself and sit on top of previous rounds which it won't be able to if you tug on it too much and it'll turn out quite flat.
♡ If your thread runs out part way through, or you want to change colour for effect, just push your needle through the fabric at any point, tucking it slightly under the wheel, and knot off at the back. If you can remember where you went through, bring your re-filled needle back up at the same point and carry on in the same direction.
Keep working round until you can't see the spokes any more, then push your needle underneath the wheel and knot off to finish.
And that's it!! This stitch is mainly a surface stitch so there isn't much happening on the back.
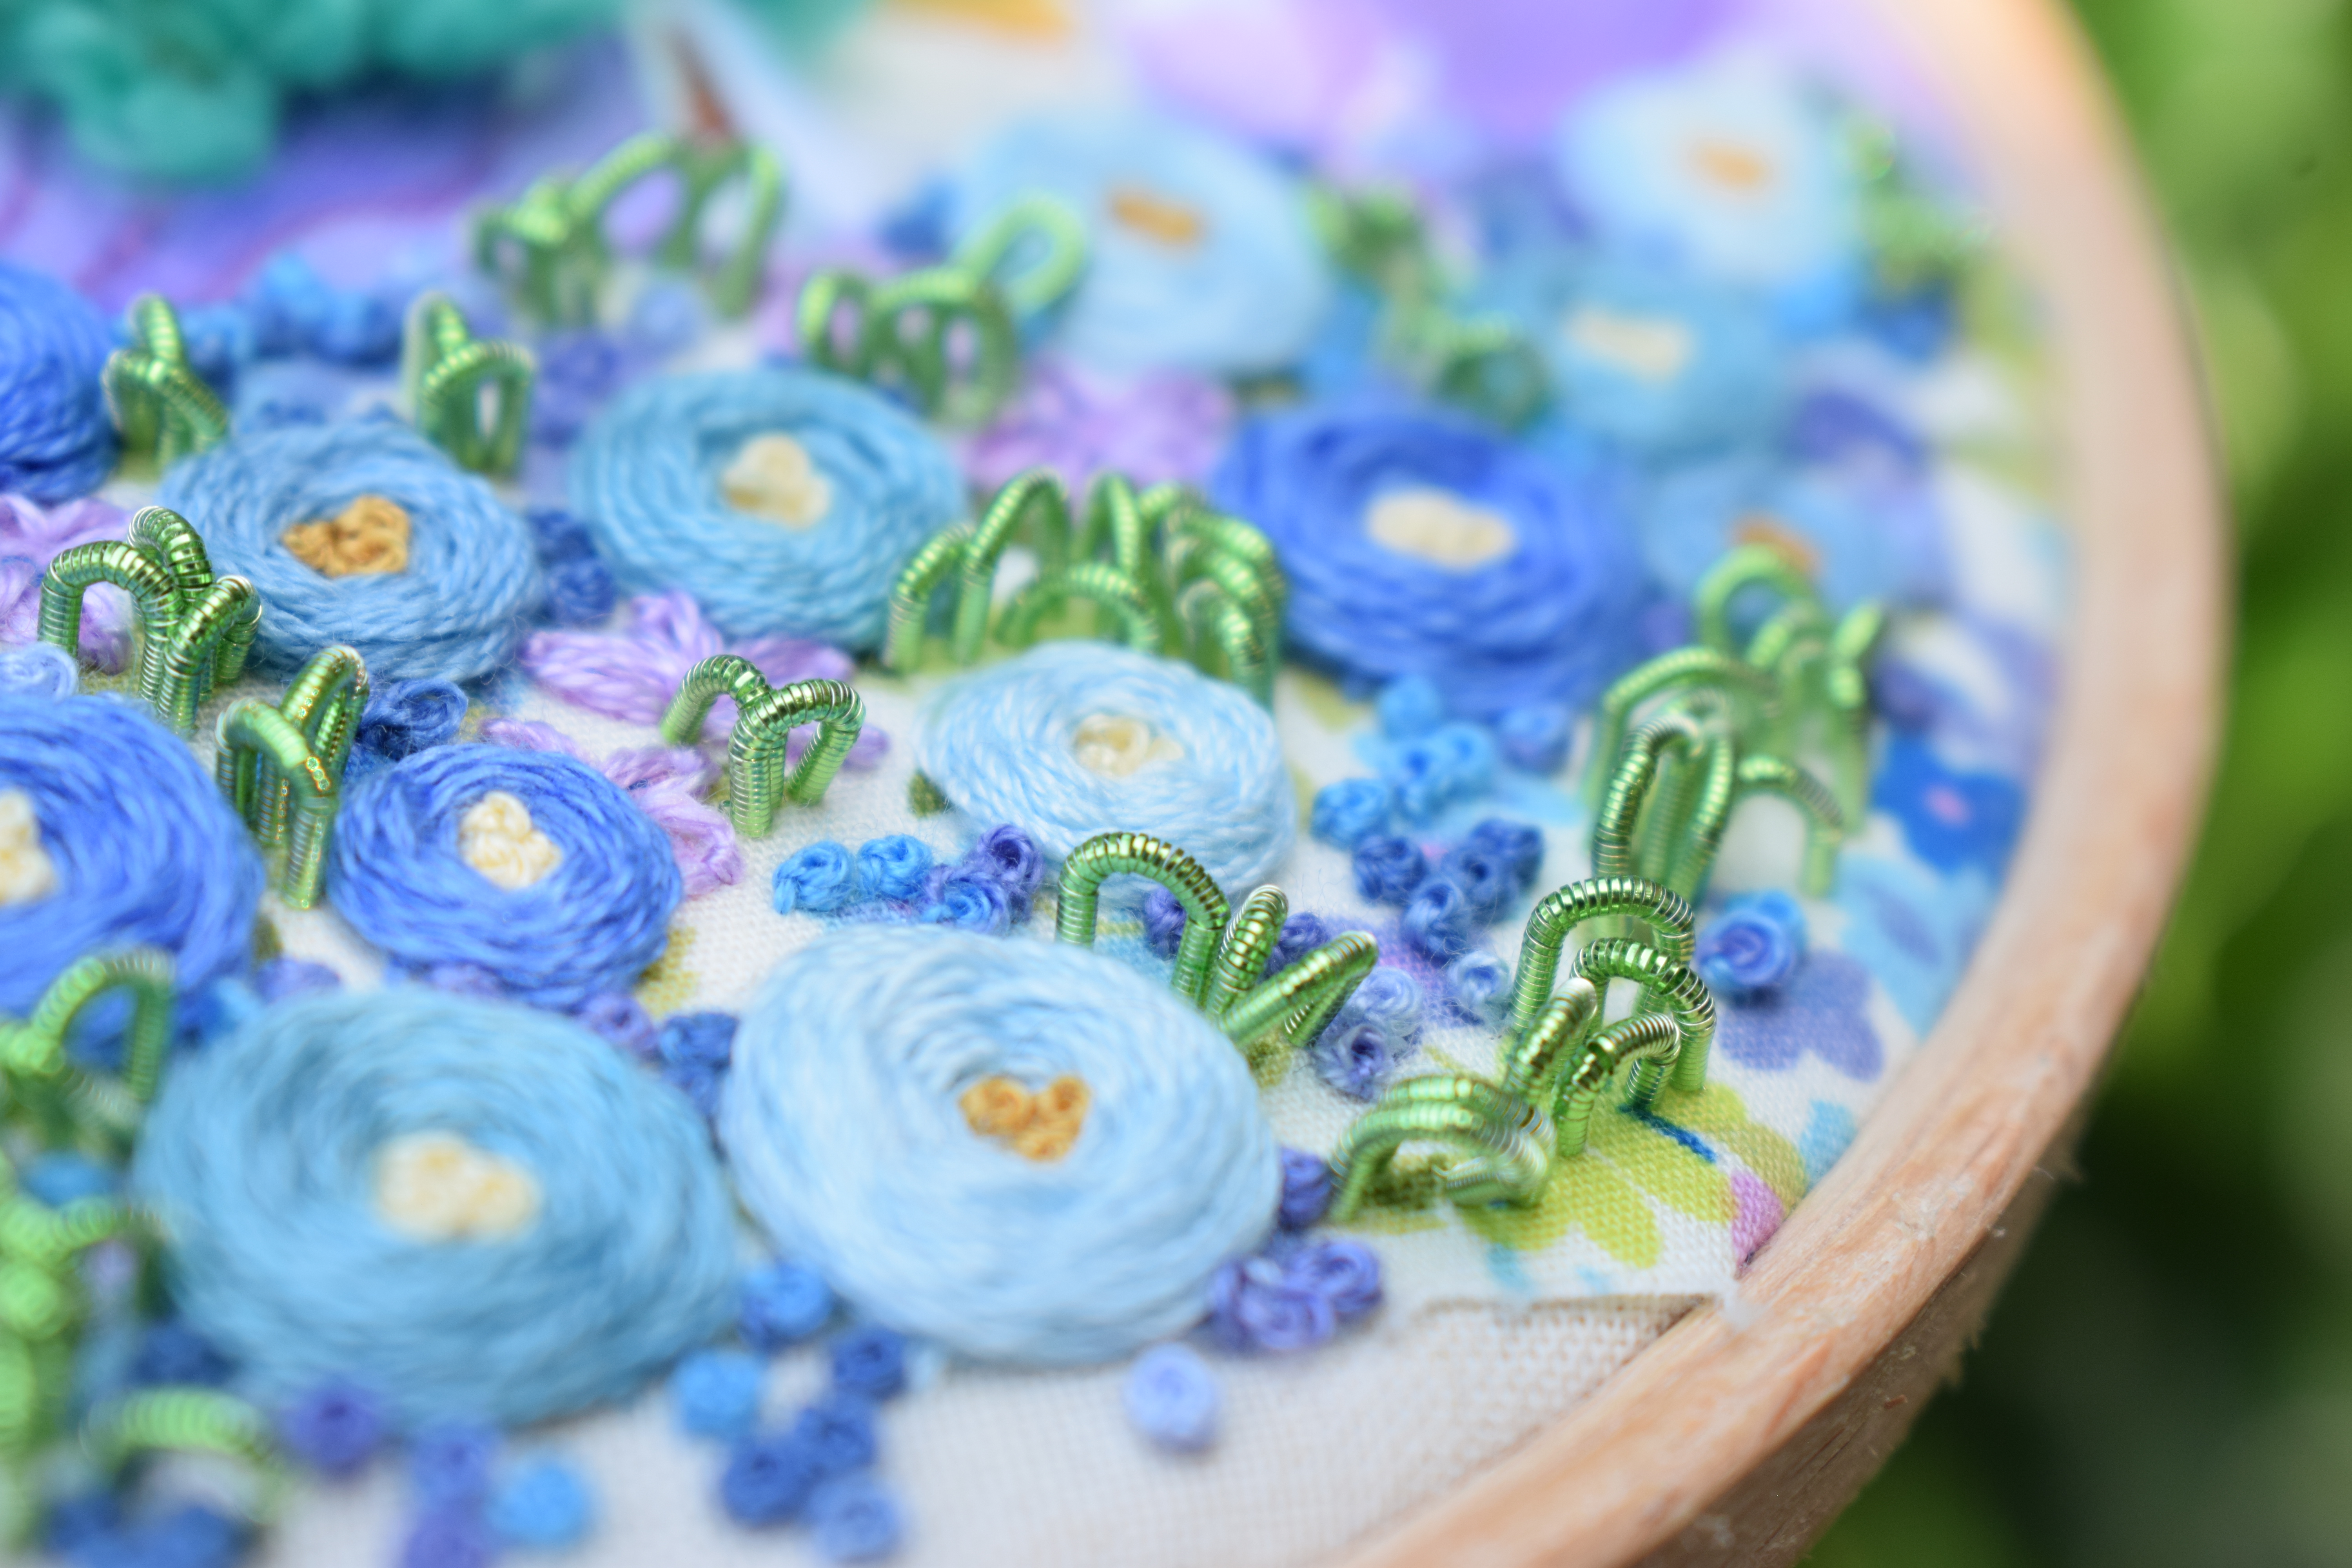
These could be flowers, or bird nests, rocks, shells...whatever you'd like them to be. Little seed beads work really nicely in them to create some sparkle, but you could also stack beads so they emerge out of the centre. You could also try french knots in a complimentary colour, or again a three-dimensional stitch like drizzle stitch or picot stitches if you have room. Have lots of fun with it!
Below are some images of other projects where I've used Woven Wheel Stitches so you can see colours I've used, things they've been filled with and also what I've used around them.
I'd love to see what projects you use this stitch in and what they turn into!


.JPG)

No comments:
Post a Comment