Showing posts with label Stitchscape Kit. Show all posts

Thursday, 24 April 2025

Kasumi Koi Stitchscape


My Kasumi Koi kit design is finished! Although the actual kit itself is only half written so you'll have to bear with me whilst I finish that part. The photos don't quite do the colours justice, I am very much missing my big camera whilst it's out of action thanks to a vindictive cat-shove off the desk, my phone just doesn't give the same quality or colour. And it also doesn't do close up images very well at all. 

This is another BIG kit, made up in a 20cm hoop, purely because of the scale of the koi fish pattern. I experimented with using a 15cm hoop but you would potentially only get one or two of the fish in at that size -  thinking about the different strips of pattern everyone will get. With a 20cm hoop, and a much bigger strip, you are more likely to get three or four fish which seems a better number. 

It's quite a relaxed hoop, I feel like it's quite tranquil - there aren't lots of textural bits and bobs really, no large trimmings, just gentle, soothing colours. 


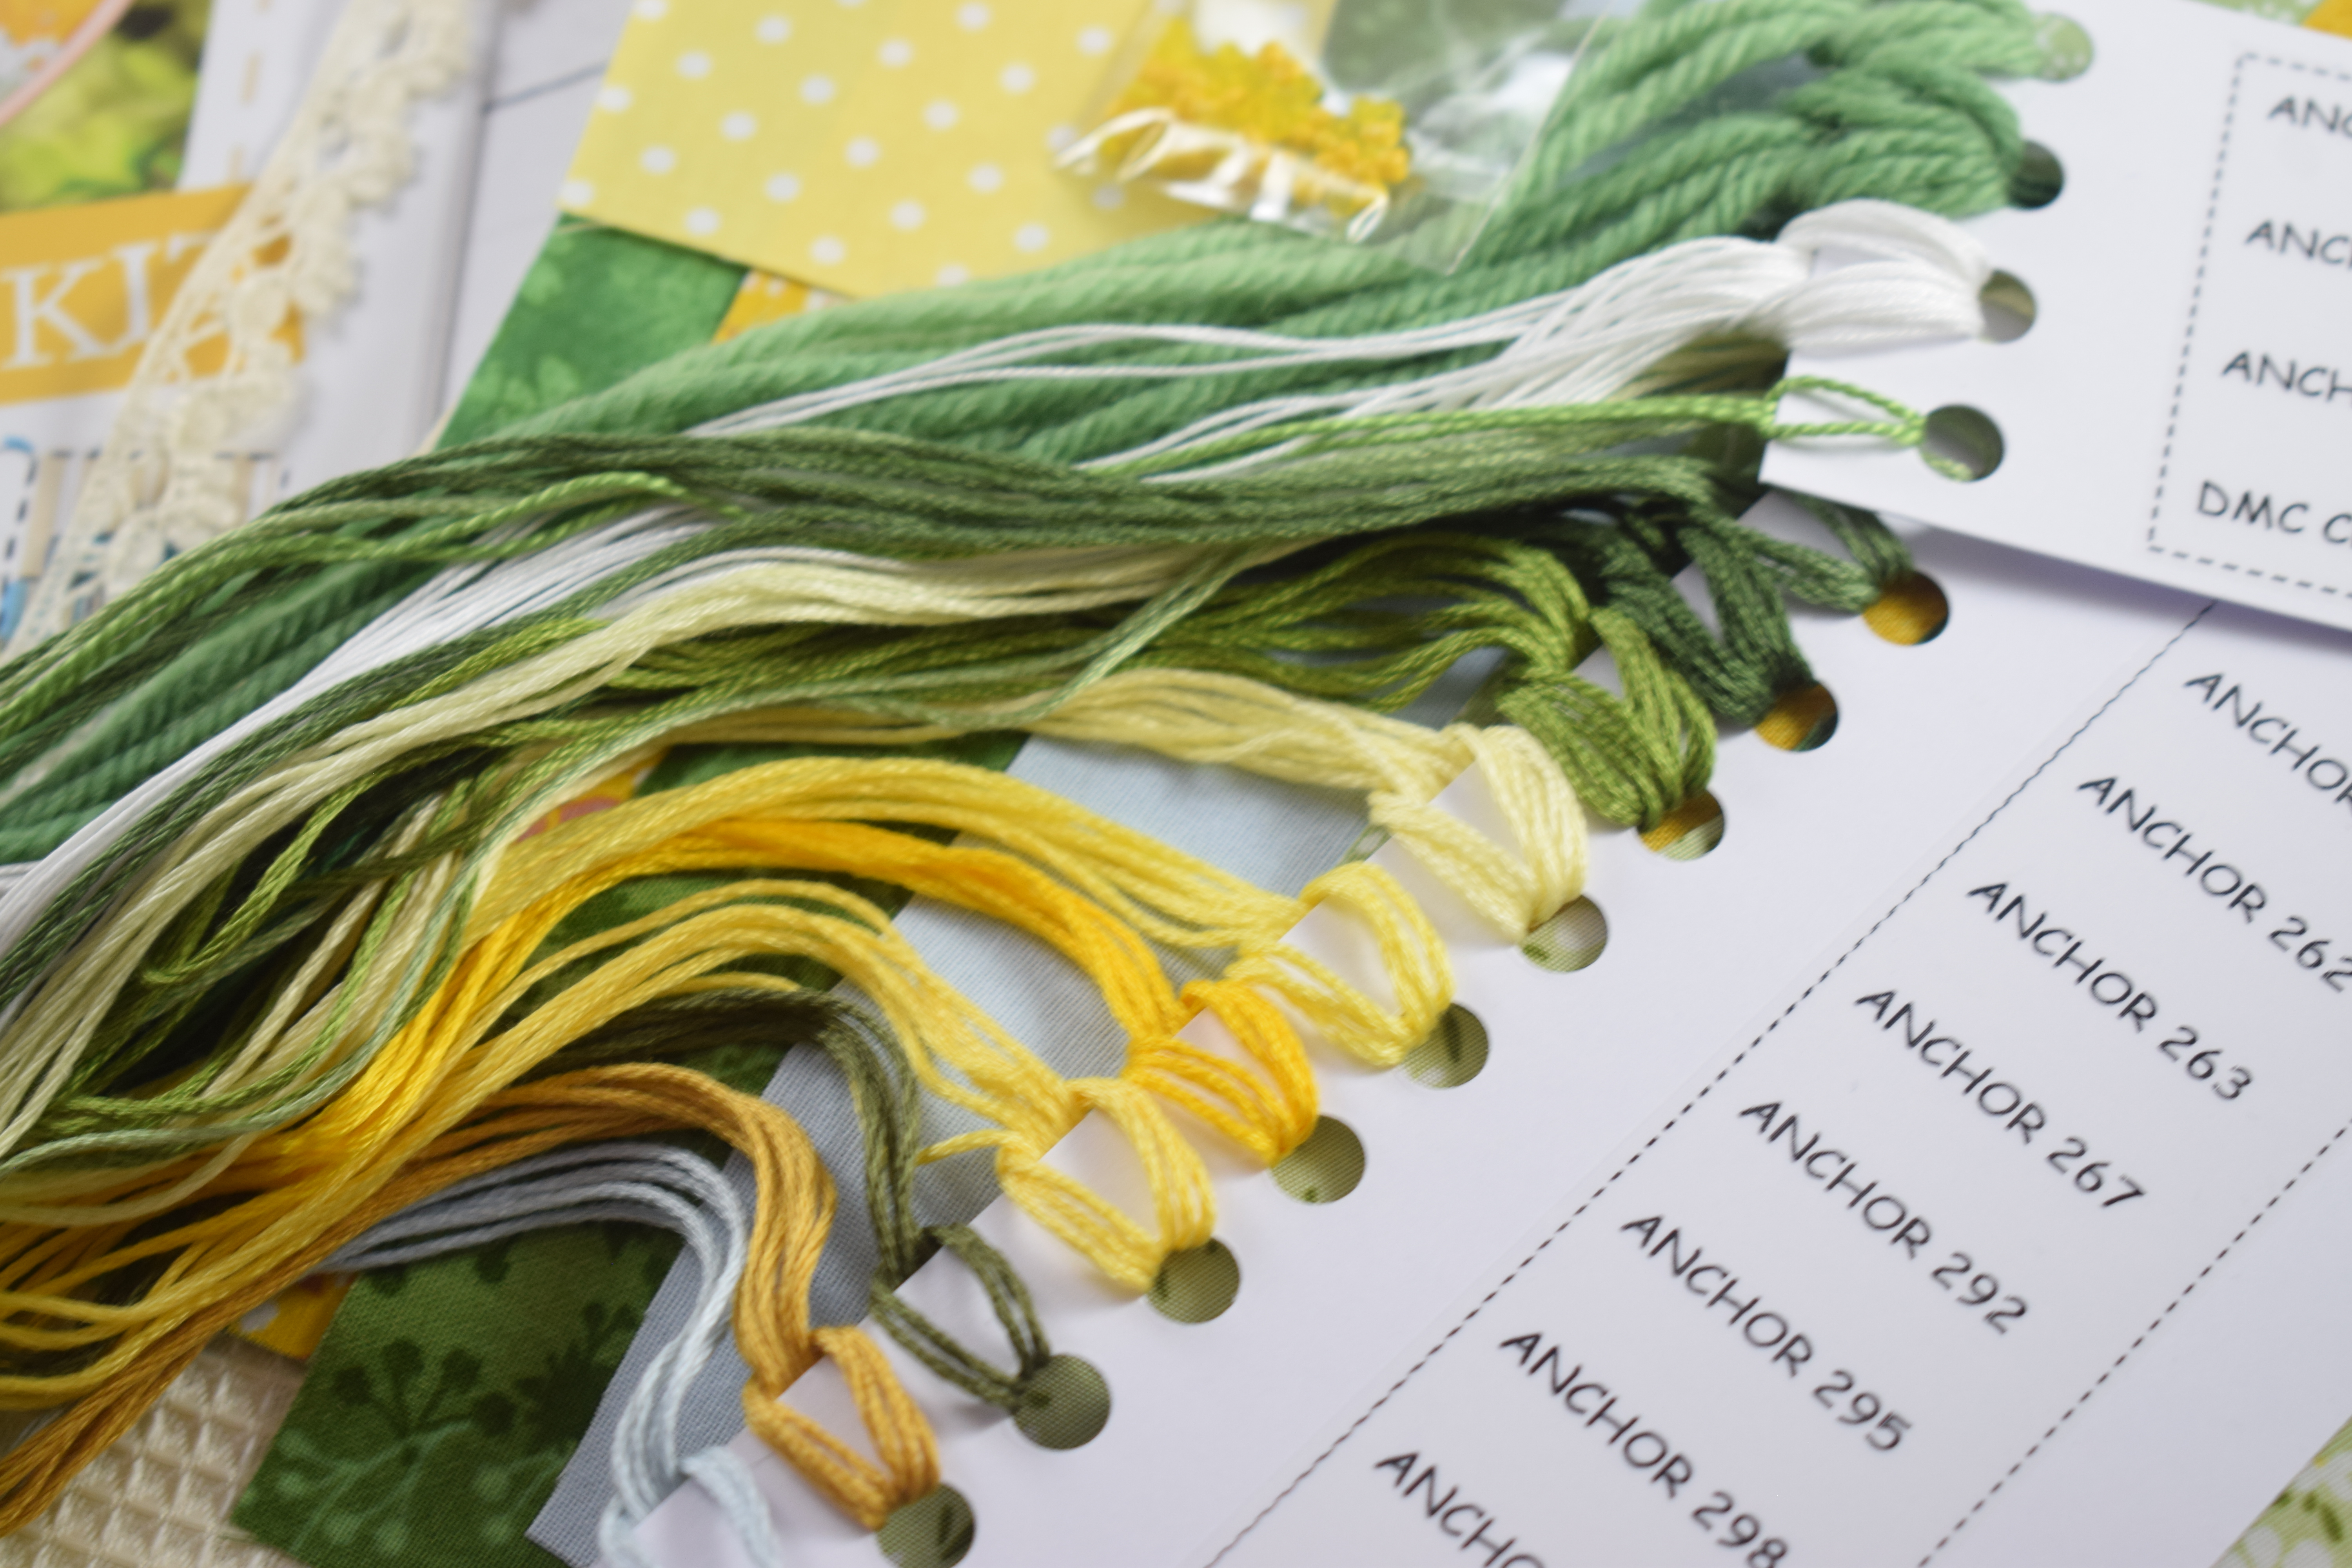
That isn't to say that it's not exciting, with lots of different techniques and types of thread. I've experimented with different kinds of thread in this one so it uses the usual Anchor stranded, as well as DMC Eco Vita thread (slightly more woolly and raw looking), DMC metallic stranded thread, DMC variegated stranded thread, and also used two different metallic crochet yarns as trimmed edges to help add to the sparkly, wateriness, so the thread cards should look pretty exciting!


This kit also features (for the first time in a kit), the workshop favourite - drizzle stitch! How I am going to write up the instructions for that one I have no idea. Once I've figured out my diagram, I think I'll write up a full photo tutorial for it to go with my other tutorials on my website (here if you're interested) so that there is a back up with further, step by step guidance. 
These drizzle stitches will be placed in different positions at the bottom of the hoop, depending on where the gaps in your fish and lily pads are - and you can do as many, or as little, as you like (thread dependent obviously). 


There are a few little plays with colour in other layers; the top layer is seed stitch but in groups of two different colours to add some interest, the second layer down follows lines in the print exactly, but with two colours so it brings out a diamond shape which is nice in that one. 


The third layer follows the print, and you don't fill in all of this with stitches. There are bigger white and blue flowers which you add detached chain stitches too, then smaller ones which you fill in with satin stitch (four colours in total- white and three shades of blue to match the print). Metallic thread in gold makes tiny french knot centres in the flowers, and leaves are picked up with a single strand down the centre of each. 

The fourth layer uses the variegated thread which goes from blue to green in very similar shades found in the fabrics so it works really nicely to add a bit of interest here. It's used to make rows of running stitch across the layer, then perpendicular whip stitch over the running stitches. I ummed and aahed over this layer, trying to decide if I liked it or not, and I'm fairly sure I do - it's grown on me. Perhaps if I were to do it again I wouldn't make the french knot border so uniform, but scatter knots down and make the line a little less straight. 


The fifth layer uses simple straight stitches to follow lines in the pattern and give a kind of waterfall feel so I've added french knots in here too for froth and bubbles. There are kind of little flashes and dots within the print so they are mostly following those - with some artistic license to fill in any areas that are slightly gappy. 
One of the metallic crochet yarns has been twisted in with light blue stranded cotton threads to edge this layer and the second, slightly darker crochet yarn has been twisted with other colours for the edging of the bottom layer to bring an element of shading. 

The waterfall effect fades into the pond, where all of the fun and focus is. Some of the lily pads are already printed with metallic gold so I've gone over those lines with stranded metallic thread, and worked a stem stitched around any that also have a metallic border line to. The darker lily pads have a slightly darker area within the print which is what I have followed with my stitches. They lent themselves to a mix of fly stitches and straight stitches but are fairly clear so you should be fine to stitch those. 
More metallic thread has been used on larger dots within the print, covered in a french knot, and in the centre of little leafy shapes. 


The water lillies themselves are detached chain stitches following the outlines of the petals. The fish have their spots filled in with satin stitch, and then they've been outlined with whipped back stitch using a single strand, just to bring out the shaping and details, and french knot eyes (one strand, one twist). I've left the gold on those because it would have been too complicated - similarly with the dragonflies in the print, but there's nothing stopping those making up the kit themselves to go for it and cover everything with stitch!

So, the full stitch run down for this piece is; whipped back stitch, seed stitch, french knots, stem stitch, detached chain stitch, satin stitch, running stitch, perpendicular whip stitch, straight stitch, couching, fly stitch and drizzle stitch. 

Thursday, 31 October 2024

Kits & Workshops


I used my newly acquired first week of being a work from home person whose son was at nursery to start on my Kasumi Koi kit! The fabrics for this arrived ages ago but it just never made it out of the packaging, other than once to oogle the fabrics and gasp over the shininess and printed gold lines.

I kept putting it off because I needed serious concentration time and had to be in the right headspace, which just so happened to come along a couple of weeks ago! 


The Kasumi Koi kit is made up of only Makower printed fabrics and it's such a gamble to see if these fabrics will work together as some of them were only printed pictures in a promotional booklet I was shown so, to try and match these with the samples was a little bit of a guessing game. It was fun to have a pre-order though and know that they were going to arrive with me before it was all released to the public. 


I had initially been going to make this in a 15cm/6" hoop but, when playing around with the hoops and the fish in particular, the size would only allow for about one fish per pond. I didn't like the idea of a lonely, sad koi fish stuck all alone in his fancy golden pond so I have scaled this up to a 20cm/8" hoop (the same size as the Harvest Sun kit) which then allows for three or four fish per hoop depending on the piece you get. I will likely have to allow for a much bigger piece than each kit needs so that there is a chance for everyone to fussy cut around the sections they want and play with where the fish end up. 


I've been trying to film more reels and videos as I go through making up these hoops and, thank goodness for zoom because the table just ends up an absolute mess with bits everywhere. It's good fun though and I'm trying to get better with it all. Lighting is my current problem as our home isn't all that bright and we have very warm inside lights which distort the colours a bit.

As it happens, I haven't touched the hoop since I started it - but it is started! - I have got some lovely trimmings and yarns which match in perfectly and I will hopefully be using metallic threads as well so there will be a little bit of a sparkly situation going on. 
So, watch this space!


On another subject, I had such a lovely little private workshop in Bexhill-on-sea the other weekend. It was organised by a lady I'd met a couple of times before and who had come to a similar private workshop organised in a wonderful marquee in a back garden

She had paid so much attention to detail in the workshop - putting together her own fabric kit packs for the ladies to choose from using fabrics from her own stash. Aren't they amazing? I love the cows especially, they work really well in terms of scale and print direction. She also had loads and loads of different threads and trimmings and beads, bead shells and all sorts of things! I had taken my scrap bag with additional threads and trimmings so there was just so much to use and draw inspiration from. 


I especially enjoy the conversations that I end up having during workshop days. Talking very seriously about requiring hardstanding for the cows and how to turn fabrics into fences or making the best kinds of grass. Taken out of context, some of the conversations would seem very strange!


Pretty much all of these ladies were stitchers - or quilters which we'll let them off for - so they didn't need all that much direction really. I was there to give ideas and to reassure when doubt struck but there wasn't a huge amount of stitch teaching going on. I think we covered drizzle stitch, bullion knots and cast-on stitch, feather stitch, fly stitch and french knots?


Mostly it's answering the question of 'what can I stitch on this bit?' 

I do enjoy that question though, it's an opportunity to think about colour and weight of line - do you mix colours in the needle at once, or use a variegated thread, perhaps you stitch an initial layer in one colour and then come back and stitch something else on top in a second colour. Perhaps it's all monotone and blends in so it doesn't shout out but adds some simple texture onto the surface. If it's far away, do you use a single strand of a stranded cotton, or do you use a big chunky perle or tapestry yarn, does it need to be fluffy or smooth.... there are so many options for each layer! 

Sunday, 13 October 2024

Nether Wallop Stitchscape


I don't like to abandon Stitchscapes. There's just something about them that makes me want to keep going and trying different things on it until I think they work. This hoop started out as the first draft for the Harvest Sun Stitchscape kit but quite quickly I decided that there were things about it I wasn't happy with - and I only put forward hoops I really love as kits. 

The bits that I wasn't loving was the double use of the green abstract floral pattern (I was initially thinking that I'd try and show how you could do different techniques on them to change up the pattern) and the rows of fly stitch on the wheat field - plus the way that colour kind of stood out on its own without much balancing going on.  The fly stitch rows weren't even enough and I was struggling to make the stitch ends meet like I wanted so, if I was not happy with how I'd done a layer, then I can't ask complete stitching beginners to try the same thing!

The hoop was set aside and, as you'll see if you click on the Harvest Sun blog post here, I ended up adding in several more fabrics, increasing the layers but also balancing them better. The only thing I lost by adding in more fabrics was the space that this initial hoop had for the sun and sun rays. 


The half finished hoop sat all forlorn for several months, until I needed a new bus project and picked it up again. There is a lot less pressure when I'm stitching a hoop just for myself and I can use up odds and ends of threads without writing down the colour, or blur and blend more colours together at will. 
The sun body had already been stitched as part of the kit but I hadn't done the rays and I actually completed that part last, although I'll talk about it first I suppose. There are at least four colours used in the sun rays, mixing up one or two strands and changing the length of the stitches. I was using up some yellows I had, as well as trying to bring in yellows from other areas of the hoop - so that kind of dark golden yellow in the wheat field to help balance that a bit more. I've also added in straight stitches in a single strand of metallic gold just because it's so pretty! I haven't done that in the final Harvest Sun kit but I'm fairly sure that I've advised to go back to the sun once the rest of the layers have been stitched and add in more yellows to build it up, so if you happen to have some gold thread, by all means add that in to yours too. 


The rays ended up almost completely covering the blue fabric layer in the end so I needn't have bothered stitching it really, but it was covered with rows of single strand running stitch which you can kind of see peeking through. The lines followed the edges of the sun and the green mountains below so it had lots of swirly bits which looked like wind whooshing past. 


The left green mountain is a linen texture print so has subtle lines to look like a fabric weave in and I've accentuated these with single strand cross hatched straight stitches, working both directions at once so they interlock together. The fabric is edged with that gorgeous tiny tiny ric rac and I've stitched over it (couched) between the 'v' shapes with one direction one colour and the other direction in another colour. The thread colours are the same as those used in the fabric layer so the darker colour is the straight stitches and the lighter colour is also the french knots I've scattered across the top. (This part was for the kit so I'm limiting my colours used here.)


I very rarely plan my Stitchscapes - even for kits - and just try to see where the fabrics take me. It isn't always immediate and in this case one of the niggling feelings that this wasn't going to completely work as a kit was that I couldn't finish layers. I could fill them in with a stitch but didn't know how I was going to edge them, or vice versa. The big mountain on the right hand side I'd filled in with the straight stitches worked within the petal shadows in the pattern, but I hadn't edge it or finished it much further than that. After some thought, I added single strand running stitch around those flower shapes, used a lovely soft yarn that I happily discovered in a forgotten wool basket around the time I was working on the hoop to be the couched on edge, and popped little french knots into the centre of each flower. 

The next green layer down is the same fabric, and I was initially going to be very different in my stitching approach, but I found myself stitching the same technique but in a more matching colour to the fabric, and in two strands to make the stitches heavier. I think I could have approached this more differently and I'm not quite sure what my fingers were thinking but I've rolled with it. Alternative options would be to cover it with seed stitches and ignore the pattern, you could also then work vertical whip stitch over the seed stitches. Or I could not have done running stitch on the layer above and done rows of those instead. Anyhow, it is done and I didn't want to undo it so I've edged it with bullion knots and left it alone. 


Please don't look too closely at my wheat field. The stitching really is very bad. It started out beautifully on the right hand side with the wider area, curving the line to follow the shape of the hoop, but the more rows I worked, the more it all kind of fell apart - if I had drawn it out first it would have been a lot better but I was free-handing it and wasn't careful enough with my spacing. The narrowing shape and the curve also didn't help but I persevered, covered my raggedy fabric edge with french knots in the same colour and added two twist french knots in red to be my poppies. 


For my lovely little floral ditsy print on green, I've worked whipped back stitch along the long winding stems, a single straight stitch in each leaf and then straight stitches in the daisy petals and a big yellow french knot in the centre. The two green threads I've used were also then put together and couched along the edging to finish the layer. 


The bottom daisy layer I don't like as much as my second attempt I don't think. I've used two strands of stranded cotton and alternated the daisies to either be white or pale blue (to balance the sky), making detached chain stitches over the pattern of the petals themselves. Where I've got the really tiny daisies, I used a silvery blue colour to fill in the petals with a couple of straight stitches - not quite enough to be a satin stitch - so they looked a bit more bud-like. The yellow french knot centres are also a slightly different yellow, lighter yellow on the blue and darker on white. 

Around those I've taken more of the fluffy yarn I found to edge that top mountain, folded it and stitched it into grassy clumps, then added pistil stitches over the top to tame the wildness somewhat. Dark green tapestry yarn was added at the bottom in chunky french knots to give it more of a ground surface, and then beads added to help balance the slight sparkle of the metallic sun. 

My total stitch run down for this Harvest Sun reject - now called Nether Wallop because I really like that village name! - is; bullion knots, straight stitch, running stitch, seed stitch, french knots, couching, fly stitch, whipped back stitch, pistil stitch, detached chain stitch and beading.


So I'd love to know if you agreed with my stopping and starting again. Are there parts of the first version that you prefer over the second?


If I were to do a third version (which is unlikely), I would probably change the shape of the second mountain so that I could have more of a sun showing as I do like the rays and the big sun on the first design. I do prefer the colour balancing and layering on the second though, and the thread on the daisies is much brighter with the coton a broder thread and beads. 

Sunday, 22 September 2024

Harvest Sun Kit Release


Yay! This post is long overdue as the Harvest Sun kit has actually been out in shops and sent off to stockists for several weeks now but it's still worth my writing a post about it I think. I'm really pleased with this kit, it took a long time to come up with the design and I'm not necessarily expecting it to fly off the virtual shelves but for those who ask me if there is a kit that can be considered 'next level', this one will be it! 
It's not complicated (in my opinion), there are lots of repeated stitches in it that appear in multiple layers but in different thicknesses and colours or with different threads, so you will all be experts if you aren't already. 

You can see my post about the finished hoop, written in May, here if you would like to see more about my thoughts and feelings on it when it was newly completed. I did do a stitch run down for the hoop in that post but, as a reminder, the stitches that are used in this kit (and which you can learn should you decide to tackle it) are; blanket stitch, straight stitch, seed stitch, bullion knots, running stitch, french knots, couching, whipped back stitch, detached chain stitch, pistil stitch and beading. 

Inside the booklet are diagrams and descriptions of how to make those stitches as well as some additional tips for the ones which can be slightly tricker - like the bullion knots and french knots. For the bullion knots especially there is also a photo heavy 'how-to' tutorial you can find on this blog along the right hand side, or on my website under the tutorials section. 


Also in the booklet are detailed, layer by layer, instructions on which thread colours to use on each layer, the number of strands and the stitches to use. There are templates for each layer as well and extra diagrams to help explain techniques so I've tried to include as much as I can - this is the longest, most detailed booklet I have written! Most of it was written whilst I was waiting to be called in for jury service as well so that extra time really helped to push me to get this one finished. 


The design uses nine different fabrics (not including the calico backing) and they are all really lovely 100% cotton fabrics with beautiful warm colours and a variety of textures and patterns. I've also included the thinnest, smallest, cutest ric rac I could find! Scale is everything in these pieces and often a normal ric rac trimming just looks too heavy, but this one is super sweet! There is a lovely cotton lace as well with a really delicate look to it which works beautifully with the detached chain stitch lazy daisy petals on the bottom layer. 
There are seventeen different threads, including four different types of thread so it's an interesting way to explore what the benefit of each of those thread types is and different ways to work with them. Some I have used before, like the Anchor stranded (my staple), Anchor Tapisserie (slightly more woolly and great for chunkier, softer lines), and DMC Coton Perle which appears in Woollydale II and Fire Flower II. But I've also used a new thread to me - Coton a Broder, which is a whole thread so you don't split it down, and it gives a great solid line which stands out from the other threads. 
Oh, and don't forget the beads! Both yellow glass beads but one is opaque shiny yellow and one is slightly paler, frosted yellow. Just for fun.


This isn't a project for someone who wants to whip up a piece quickly. There are a lot of stitches and techniques in each layer and I have intended for it to be a bit of a journey. Slow stitching is very popular right now, mindful stitching that can be picked up and put down - whilst this isn't quite the same thing, Stitchscapes can be picked up and put down because you never lose the pattern as it's already on the fabric underneath. 

I find stitching very peaceful personally. You can sit and think through all sorts of things and it is a great way to carve out time for you to just work through any troubles you're having, finalise lists, make plans, stave off any boredom and occupy your hands if you are a fidgeter. 
Having worked in this area for many years now, stitching is also a huge community thing, regardless of if you stitch on your own at home, you can always join a group of stitchers and be accepted and learn from each other, laugh with each other - I see it in every workshop. Being a creative person is wonderful and I've never met a horrible creative person. So there's that too - all wrapped up in one kit!


The kit itself is very sunny and summery. It reminds me of long summer days on holiday in Yorkshire or similar places where the sun lazily drops down behind hills late in the day and the fields are full of sweetcorn or sunflowers. There's that lovely golden moment at the end of such days where the birds are still tweeting and the little midgey flies are having some kind of rave party in golden beams of light. This is what this kit means to me, but if you make one you can turn it into whatever memory you would like it to be - and amended it or change it in any way you like, I won't mind. 


I really hope that you will love this kit as much as I do. It's bigger in terms of the length of time it takes, but also physically it is made in a 20cm hoop so there is more fabric in it and it's just a chonk of a kit! 

If you have been inspired to have a go - or to add it to your birthday/Christmas/special occasion lists - you can currently purchase it from my Etsy shop, my web shop and from the-stitchery in Lewes

And if you do stitch one up of your very own, please don't forget to send me photographs!! All of my contact details are in the back page of the booklet so there is really no excuse. I hope you enjoy this one. 

Tuesday, 14 May 2024

Harvest Sun Stitchscape


I've finally finished it! My Harvest Sun Stitchscape is completed - this was only the second attempt, and I've still got to finish the first one which has been discarded in a heap (otherwise I'll feel too guilty). The pressure was on with this one because I want it to be a kit and my biggest kit design yet! After this one I'm going back to small and easy kits I think, there was a lot going into this one. 
I don't want anyone to be put off though, each layer has lots of different elements and I think they're quite pretty on their own! I have been considering this as like a stitch-a-long, or those magazines where you get a panel to stitch a month and then it all gets joined together at the end. I feel like this would make a good stitch along because you could do it over 7 weeks (putting the sky and sun as the first week). Let me know if this is something you would be interested in, it would be a good summertime project because of the long, light evenings - although I'm nowhere near ready with the kit booklet and instructions so it may be a late summer project!


There are lots of flowers in this hoop and it is just so pretty. It does remind me of a patchwork of fields - if you just glance at it you get an idea of the field layouts and the rough colours, but if you look up close you can see the details of the flowers and plants which is exactly how it would be in real life. I'm looking forward to going out and having a photoshoot with this somewhere in the countryside. 


Starting with the bottom layer for a change; this is edged in a really pretty, delicate cotton lace which seems to have petals of its own, mirroring the petals everywhere else. The daisies have been made with cotton a broder thread which I mentioned in my last post about this hoop but is a new thread to me. It's very smooth and you use the whole thread as it is (not stranded) but it hasn't got as obvious a twist in it as a cotton perle - you can see the two types of whole thread in the below image; the green thread which has been doubled up to edge the middle layer is a coton perle thread, and the white chunky daisies is the coton a broder thread. 
Inside the daisies I've used two slightly different seed beads, one a solid colour and one frosted. The solid beads I've added two stitches to to try and keep them lying flat so you can see the hole, and the frosted one I've just popped in one stitch so you don't get the hole showing. I'm not sure it's made that much of a difference but it's always good to give it a whirl. 
Little yellow french knot clusters have been added in any big gaps between the daisy flowers just to fill those sections in, and I've added some stems in green tapisserie yarn for thickness in any gaps going over the lace, then layered that with stranded anchor thread in green (just long straight stitches) in a couple of colours to try and build different a different light into the clumps and a single strand of lighter green thread to make pistil stitches. These have then been 'bedded in' with french knots in a lighter green tapisserie yarn. Basically I've been trying to build in a variety of textures and tones to create the idea of light and dark, and also scale. The thicker threads down here also help to balance the piece as they've been used further up in the hoop as an edging.


There are two fabrics which sort of overlap in the middle to create the next couple of layers up. For the slightly stripey linen texture fabric on the right hand side, I've kept this much more simple, adding cross hatched straight stitches in a single strand, little blue french knot Cornflowers and edged with bullion knots. 
On the left hand side, I've worked whipped back stitch along the swirly stems, then a single strand detached chain stitch in the leaves, yellow straight stitches following the petal lines in the print and a dark yellow french knot in the flower centres. I've then used the pale yellow again to couch two strands of coton perle thread along the raw fabric edge to make it more of a decorative feature and perhaps a little bit fence like?


Above that is more of this lovely golden yellow - the colours are balanced across the layers to make the whole scene easy going to look at with a path for your eyes to bounce along. The flowers in the print have been covered with detached chain stitches to make lazy daisies, and again centred with french knots. The leaves have a single strand straight stitch from one end to the other - two if the size and shape of the leaf needs it. I've ignored the white flower buds so they stand out on their own. Then the layer has been edged with bullion knots using two different yellow colours in the needle at once for a bit of subtle interest. 


Moving up, my green linen texture type fabric has been textured further using seed stitches, two strands in a matching green colour and one strand in a lighter one to provide little cloud shadows or blowing grasses - whatever you think it reminds you of. And there is a gorgeous mini ric rac trimming edging this layer, stitched down with a single strand of each of the aforementioned colours worked in a zig zag effect over the ric rac to hold it down. 

Above that is a really interesting fabric print which is sort of floral and sort of not. I have used a single strand and worked straight stitches from the tip of each petal and working inward - all of the central stitches have gone into pretty much the same hole in the fabric, although in some places I've had to make a second hole to reduce the lump of threads. Because some of the flowers aren't complete, each little section is slightly different and you can almost make up shapes if you needed to. Again these have been given a little centre with a french knot (which also hides any untidy middle bits). I've edged this fabric with two colours of tapisserie yarns, deconstructed a bit and put together to make them fluffy and slightly bobbly when couched down. 


The final green layer again follows the fabric pattern quite closely. This time working single strand whipped back stitches along the stems - in two colours where the colour in the pattern changes so on the light coloured stems you use the lighter coloured thread, and make clusters of dark french knots at the ends, then the colours swap on the printed darker coloured stems (so dark coloured threads for the stems and the lighter green for the french knots). This edge uses couched embroidery threads to give it a neat and discreet finish. 


The blue sky has a single strand row of blanket stitch along the raw edge which holds it down in case it's not all covered in sun rays, and a line or two of running stitch at the bottom following the lower fabric edges. The sun centre has been textured with seed stitch - making sure to take the stitches over the fabric edge so that when you come to add the bullion knots around the edge, it keeps everything nice and neat and tidy. Bullion knots hate mess and loose threads! The seed stitches have also used two slightly different shades of yellow thread in the needle at once, although I'm not sure if that really shows up or not. Similarly with the bullion knots and the two colours. 
The rays use three different colours and in either one or two strands worked round. I've discovered the best way to work out sun rays is to be quite mathematical and divide the shape up into quarters first rather than trying to work your way around it and hope for the best. All tips and diagrams will be in the booklet when I get around to it, and I would also recommend to keep any likely length of thread left over in your colours, then you could go back at the end and add some other shades of yellow in, if you wanted to, to build it up further. 


So there we go! I would say, just like that, but this one is a bit more involved and more like a Stitchscape I would make for myself with a whole number of colours and threads - usually I've tried to limit myself when making kits before but this one is a little bit all out! It may need two thread cards in the kit, one with the stranded cottons and one with the other types of thread.
The stitches are still easy (I think - aside from the knots which take a little practice) and there is lots of repetition as well which will help new learners. The stitch run down is; blanket stitch, straight stitch, bullion knots, seed stitch, running stitch, whipped back stitch, french knots, couching, detached chain stitch, pistil stitch and beading. 
I really hope it won't be too long now until I can finish a kit for this but June is really busy so I'll have to see how the rest of May goes!