Monday 16 August 2021

Flash Point Stitchscape

This Stitchscape was actually a sort of request from my lovely boyfriend, Reece. I asked him to think up a theme for me to make a Stitchscape to and he wanted thunder and lightning with big stormy skies. 
I may not have been physically able to stitch the thunder but the lightning is definitely there (you just have to imagine the thunder part)!! The contrast between the white and dark blues was freaking my camera out so the colours look slightly odd in these photos I'm afraid but hopefully you can see the stitches and design well enough. 


In my workshops I often talk about layering a Stitchscape and the different ways you can layer a piece. Traditionally the top piece (sky) would go onto the hoop first and then each layer coming down the hoop would be layered over the top of the last one. This creates a nice, easy going landscape where the foreground comes towards you and is often how you would draw a landscape in an art class. In this case though I wanted the lightning fabric to be quite dominating and oppressive so I have layered my fabrics differently. A sharp streak of plain grey has been laid down first in the centre of the hoop, at the same level as the fabric at the uppermost part of the hoop. This is so the lightning fabric sits on top of both of these at the same level as the feather print fabric. My rocks are on top of all of it so that it provides the viewer with some shelter to retreat from the lightning. 
Layering the fabrics is one of the most important parts of a Stitchscape and it's amazing the difference it makes to just play with how the fabrics sit together, even before any stitching has taken place. 


The jagged stripe of pale grey was meant to be like a horizon flash of lightning rather than a streak. Do you know what I mean? When there is a lightning storm but you aren't facing the right way to actually see the streaks or forks yourself but the horizon flashes all around you and turns the whole sky silver for that one millisecond? I don't remember it being intentionally quite so jagged though, I think that's just how it ended up when the blue was layered on top but I love how it looks!
I've filled it with a discreet, single strand, seed stitch to give it some texture but not to make it shout out - the lightning is doing enough of the shouting!

The feather layer took quite a long time to complete and was mainly done on the bus in the mornings on my way to work. I've used five different colours, with a single strand of each and worked whipped back stitch either around the feather strands, or just up one side of each strand depending on the size. I love the different colours used here, and they are often reflected elsewhere in the hoop as well which really helps to balance the colours out across the landscape. I've used fairly flat, harsh lines on the edges of these fabrics, either with couched threads or bullion knots to keep it really neat and highlight the jaggedness of the piece - not a theme I usually go for!


For the rocks I've used a lovely splodgy batik fabric and filled in the bigger splodges with satin stitch to create more padded sections. To these I have then added a single strand of back stitch in white at the top of each one to make it look like the rocks have been highlighted in the storm and are reflecting the light. 

French knots have been used to edge this rock layer, and the knots themselves drift down into the fabric where there are bare areas just to add some texture and depth. I've created some fun foliage with sticks of beads stacked on top of each other, and some drizzle stitches which just go wild and twirl around in any direction. These stitches have again been done in lots of different colours, including a few in a silky white thread to match the forks of lightning and again hint at them being highlighted and flashing in the landscape. 


So the top layers themselves work really nicely together. The top fabric had block shapes of colour in it, which is quite hard to explain but I've used these shapes and covered them with these directional straight stitches. So each section of straight stitches is a splodge shape in the fabric but it reminds me of rain which fits in perfectly. 

For the lightning fabric - this is actually a print on the fabric, although some areas I have taken artistic license and added in more lightning where there were big gaps (like in the middle which then looked really odd). The clouds have been puffed out with french knots, using a really pale grey for the base colour and then adding knots on top of the knots in a DMC silky white thread which does glow in the light. The thinner strands of lightning are a whipped back stitch, with just normal white embroidery floss for the back stitch, and the silky thread for the whipped stitch, and the thicker strands of lightning are lots of straight stitches worked next to each other at an angle to cover the print beneath. It's not really neat enough for a satin stitch but it's that sort of technique. 

Blue lines of single strand back stitch have been added to the blue background fabric  where the colours slightly change and, to help keep the top of this layer nice and neat for when I added the bullion knots, a discreet running stitch has been added. 

The streaks of lightning have been taken off of the fabric layer they are on and into the grey layer underneath to help the piece flow and look like they are adding to this horizon glow (like an electric waterfall). I really like the couched threads that the lightning goes over as well, which is made up of a couple of dark blue threads and a strand of white loosely twisted together. 


So there you have it!! A little lightning piece to add to my collection, and Reece has given his approval on it too which is a relief! 

The stitches used in this piece are: straight stitch, bullion knots, french knots, back stitch, running stitch, whipped back stitch, couching, seed stitch, satin stitch, drizzle stitch and beading. 


Monday 9 August 2021

Kit Photoshoot


I had to create some new imagery for my showcases on the @handmade_hour Instagram page and I was so chuffed with the above photo! Of course it wasn't glamorous to put together and I ended up in the passageway down the side of my house, laying out all of the hoops I could find onto my IKEA peg board, then leaning over as far as I could to get a birds eye image. Luckily no one walked around and saw me because I probably looked a little bit odd standing on one leg with my tongue sticking out in concentration, not breathing in case I wobbled. 
The circle gap has been left in the middle so that I can add text and it worked so well as a bold, eye-catching image at the front of my showcase! It's so wonderful to see all of my hoops together like this as well actually, all a jumble of landscapes, colours, textures and techniques. 


Once I was out and about with my camera and hoops though I decided to take some more photographs using the flowers and plants in my garden as backdrops. Most of these images are of kits so I've popped links to them in my shops if you would like to snag your own!


This one is still in development but it is a kit design! It's a smaller version of a rockscape kit (only 12cm) and will be called Tiger Moon. I'm thinking of adding bead sticks and drizzle stitches to this one as neither technique/stitch are currently included in my Stitchscape kits!


Emerald Isle!! The newest kit in my collection, only released last week. Available on Etsy and in my Web Shop. The colours in this make my heart sing and I'm so excited for you all to learn how to add these rocks to your pieces. This is a big meaty kit so it's a nice one to receive in the post. 


Bluebell Garden (Tape Version). Full of bullion knots for those knot lovers out there, with beads included for some sparkle and shine. This kit has so many wonderful, zesty, batik fabrics it's a joy to work with. This one is available in my Etsy shop.


Bluebell Garden (Lace Version). It's amazing the impact one little change can make on a hoop like this. The only difference between the lace version and tape version is the trimming used but it could almost be a different design entirely!! This version is available on Etsy and in my Web Shop


Mini Woollydale! A slightly more rainy day version of the bigger Woollydale with these lovely muted greens. The sheep are just as bonkers though! Available in Etsy and in the Web shop


Woollydale II! This is the bigger and brighter cousin to the Mini Woollydale, but they work so well together! I love that in this piece the batik at the bottom will completely change colour in each kit. Sometimes its almost brown, or green, or purple, or blue. Available in Etsy and in the Web Shop


Ladybug Valley! How pretty is this kit with is lovely floral meadow and busy little Ladybirds? Their wings are slightly padded with satin stitches so they pop out from the hoop in a very pleasing way. Available on Etsy and in the Web Shop


#inthehoop Spring! Currently the longest running kit in my collection this little hoop adds some beautiful pastel florals to your WIPs. Made in a 12cm hoop (included) it is nice and easy to put together and stitch up, a great project for a rainy day. Available in Etsy and in the Web Shop


Don't they look lovely together? There are more kits available in my shops (Naked Stitchscape, Stitchscape Pebbles, Fire Flower....) I mean, get a few Stitchscape kits and create your own hoop wall! Don't forget to send me photos. 

Emerald Isle Stitchscape


I've been trying to think of a new and exciting Stitchscape which could be turned into a kit. So far my kits tend to be quite flat in the hoop and as my own personal Stitchscapes are becoming more and more textured, I wanted a design that would reflect that whilst still being fairly easy to follow and absolutely unique to each person. 
I've been collecting fabrics and trimming items for a while (the house is full to bursting!) and finally I had enough to be able to start designing this little hoop!


My design process for kits is essentially the same as just-for-fun Stitchscapes in that I don't know what it will look like when it's finished, there is no drawn-up plan, I cut straight into the fabrics and go with what I feel. The only difference is that I draw around all of the fabric pieces before I tack them down so that I have a record to create templates from. This one was a little bit more complicated as I had to do the same thing for the felt rocks, and also draw around them once they had been drawn up to show how much shrinkage there should approximately be. 
Threads are counted in lengths of 60cms and then when the kit is finished being designed, I total up how many lengths have been used for each colour and add an additional length for the kits themselves in case there are any mistakes. Because I rarely use the full six strands that come in a length of thread, this translates as between 3-6 extra lengths depending on how many strands are used for each colour in the pattern. 


I love the colours in this piece, it's so vivid and bright! The photos don't really do it justice. There are some lovely batik fabrics in this piece as well so each time it's made it will be slightly different to look at. I love the pops of yellow and orange which really help to bring the Stitchscape to life. 


To make these rockscapes I layer up and tack down the backing fabrics first, then stitch on the rocks so that everything is in position for when I start to add the embroidery over the top. There isn't really any point starting to stitch your lovely embroidery stitches and then end up covering some of them with the felt rocks afterwards. 


Starting from the top fabric, the polka dot is used as a grid and each stitch is from spot to spot, working in diagonal rows of back stitch to create a cross-hatch effect. Bullion knots and little cross stitch kisses edge the top of the fabric and lead onto the calico beneath. 
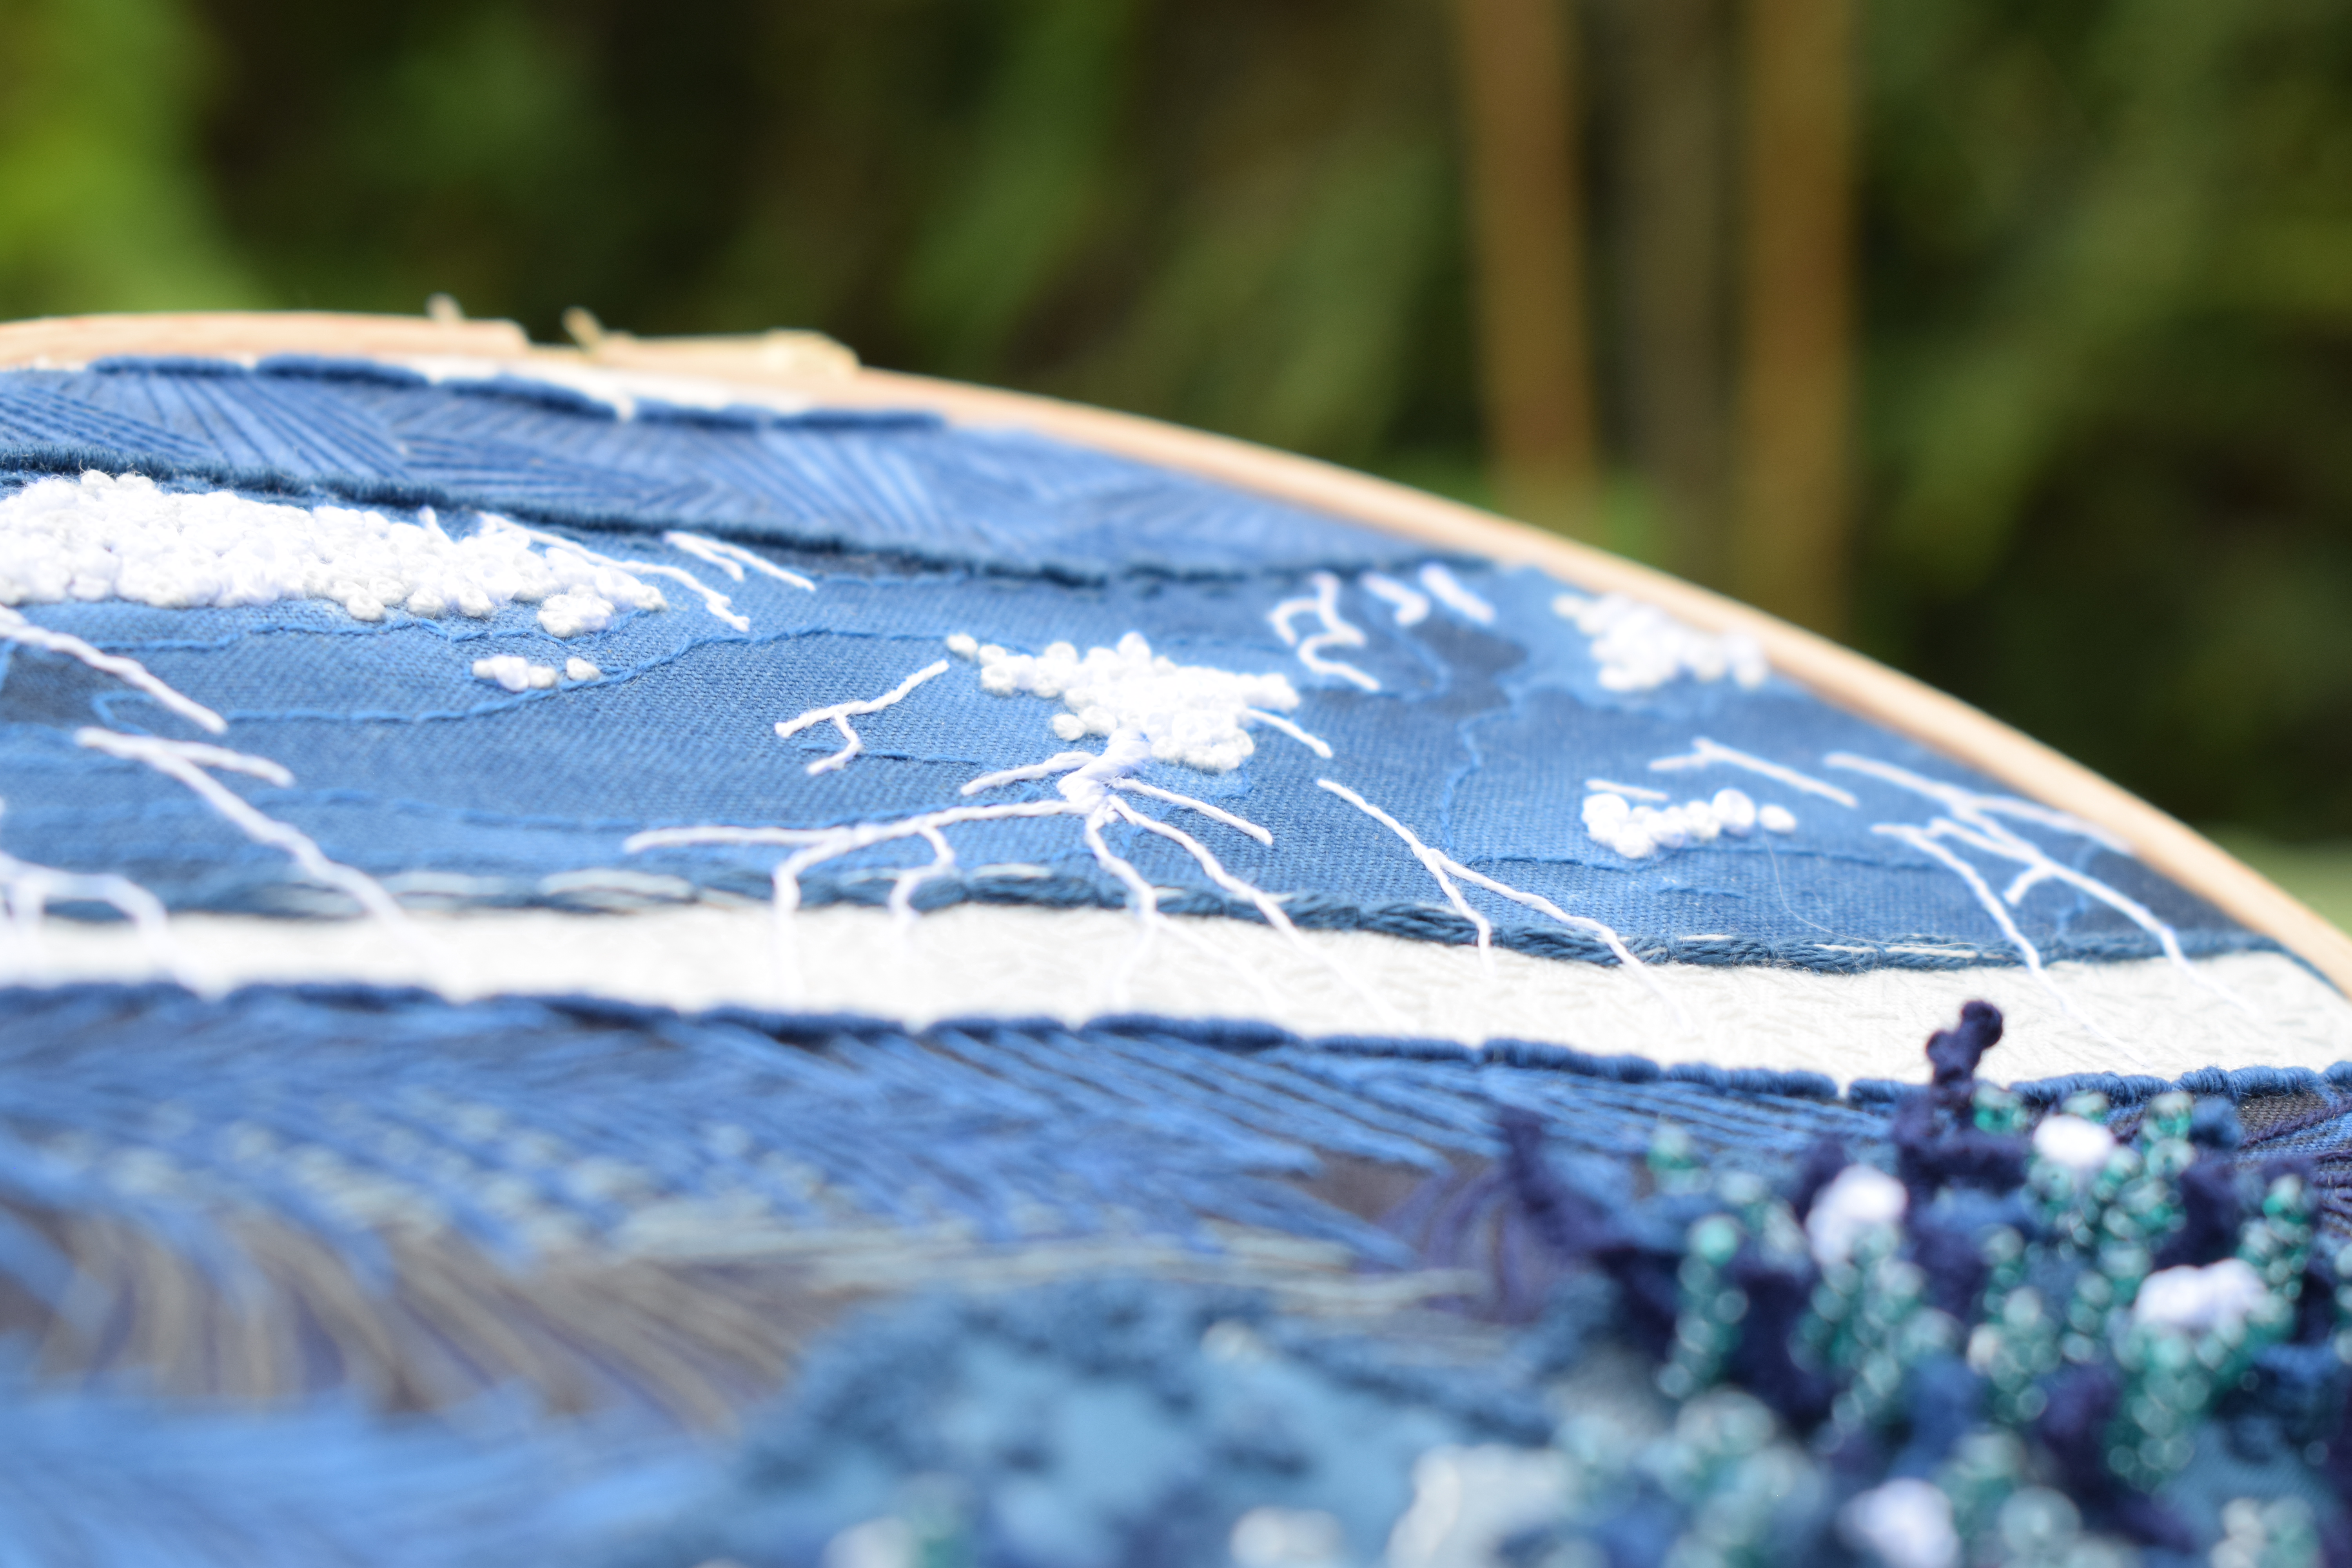
The plain blue fabric layer has been simply treated with a two strand seed stitch just adding some texture to that plain area, creating little shadows underneath the stitches to draw the eye, and french knots cover the top of the fabric layer.


The lovely tiger batik print underneath has had each stripe outlined with a single strand of back stitch to add definition and little pops of colour have been added with bright orange french knots trailing along some of the darker stripes. They remind me of a procession marked with flaming torches or something like that. I've used embroidery thread folded in half to couch along the top for a quick edging to this layer - it's a great way to match colours within the layer without using a lace or bulky trimming. 


Moving down, there's another lovely batik fabric, this time more of a crumple batik where the darker colour almost looks like it's been crumped onto the fabric. Every bit of this will be different so I've hopefully allowed for that with my embroidery stitches. The darker areas have been gone around with a single strand stem stitch just to highlight them, and then a lighter embroidery thread has been used to fill in the lighter gaps with horizontal rows of running stitch. 
Two strands of thread in the same colour have then been used to go over the running stitch with vertical whip stitch, one of my favourite techniques to use on mountains or hills because it looks like bunny runs or the wind blowing the grass around. Of course these Stitchscapes wouldn't be complete without a second row of bullion knots so hopefully enough practice will have been had on the top layer. 
I have had in previous kits, where someone doesn't like bullion knots, adaptations been sent in as rows of chain stitch, or more of the couching with embroidery threads, or even blanket stitch. It's great to see how customers/students switch things up to suit their needs more. Bullion knots are a bit of a marmite stitch to be sure!


The fun section is the bottom section and I've started by adding some satin stitches in the flowers printed on the bottom fabric. Each bit of this will be different for each person as well so it will be interesting to see photos coming back of completed versions of this kit and how it changes their rock formation placement. 
Texture starts to be added with the white craft stamens, which are more often used in the cake making industry to go in the centre of sugar flowers. These ones are quite big, and a little bit wild, swinging in all directions, but they really stand out against the turquoise background and felt stones. The stamens are folded in half-ish, so that one side is taller than the other (there's a blob on each end of the stamen) and couched down at the fold and on either side to secure them in place. 


Two colours of tapestry yarn have been used and complement the light and dark turquoise colours in the Stitchscape. In each length of yarn are four thinner strands all twisted together so I have pulled these apart down to their single strands, put one of each colour together and couched them down into big loops around the bottom of the rocks. In some areas I've taken small snippets of the yarn and pulled them into gaps between the ricks or higher up so it looks like moss or grasses growing in and around the rocks. The best bit about this is you can leave great loops unstitched, or keep faffing with it until it's all exactly where you want it. I like the slightly wild, un-tamed look, what do you think? 
On the rocks themselves I've stitched little lines of back stitch to pull the felt in and create nooks and crevices, then followed these lines with two colours of french knot and lovely silver lined, turquoise beads which have been stitched quite tightly down so that they tuck into the felt. This little pop of sparkle really made a different to this piece as everything else was really matte so it started looking a bit boring to the eye. 


So, there you have it. This Stitchscape will be turned into the next kit, which I am super excited about. It's a little bit more adventurous than some of my other kits and I love that I can add in new techniques to make it more interesting. 
The total stitch run down for this piece is: back stitch, bullion knots, straight stitch, seed stitch, french knots, couching, running stitch, stem stitch, vertical whip stitch, satin stitch and beading. Nice and simple!