Sunday 26 March 2017

Calm & Bright


We've been having a rather peaceful weekend in our house. Yesterday was spent pootling around in my studio during the morning and then working on my Flowing River Stitchscape in the afternoon. This one is starting to grow on me, I admit that for a little while after the initial laying down of the fabrics I was wondering what one earth I had started. The colours were too vivid, the shapes not flowing, the pieces too large.... But now that I have nearly reached the top I am feeling happier with the colours, bold and bright is absolutely fine, and I can see the bullion knot flowers at the end of the tunnel.


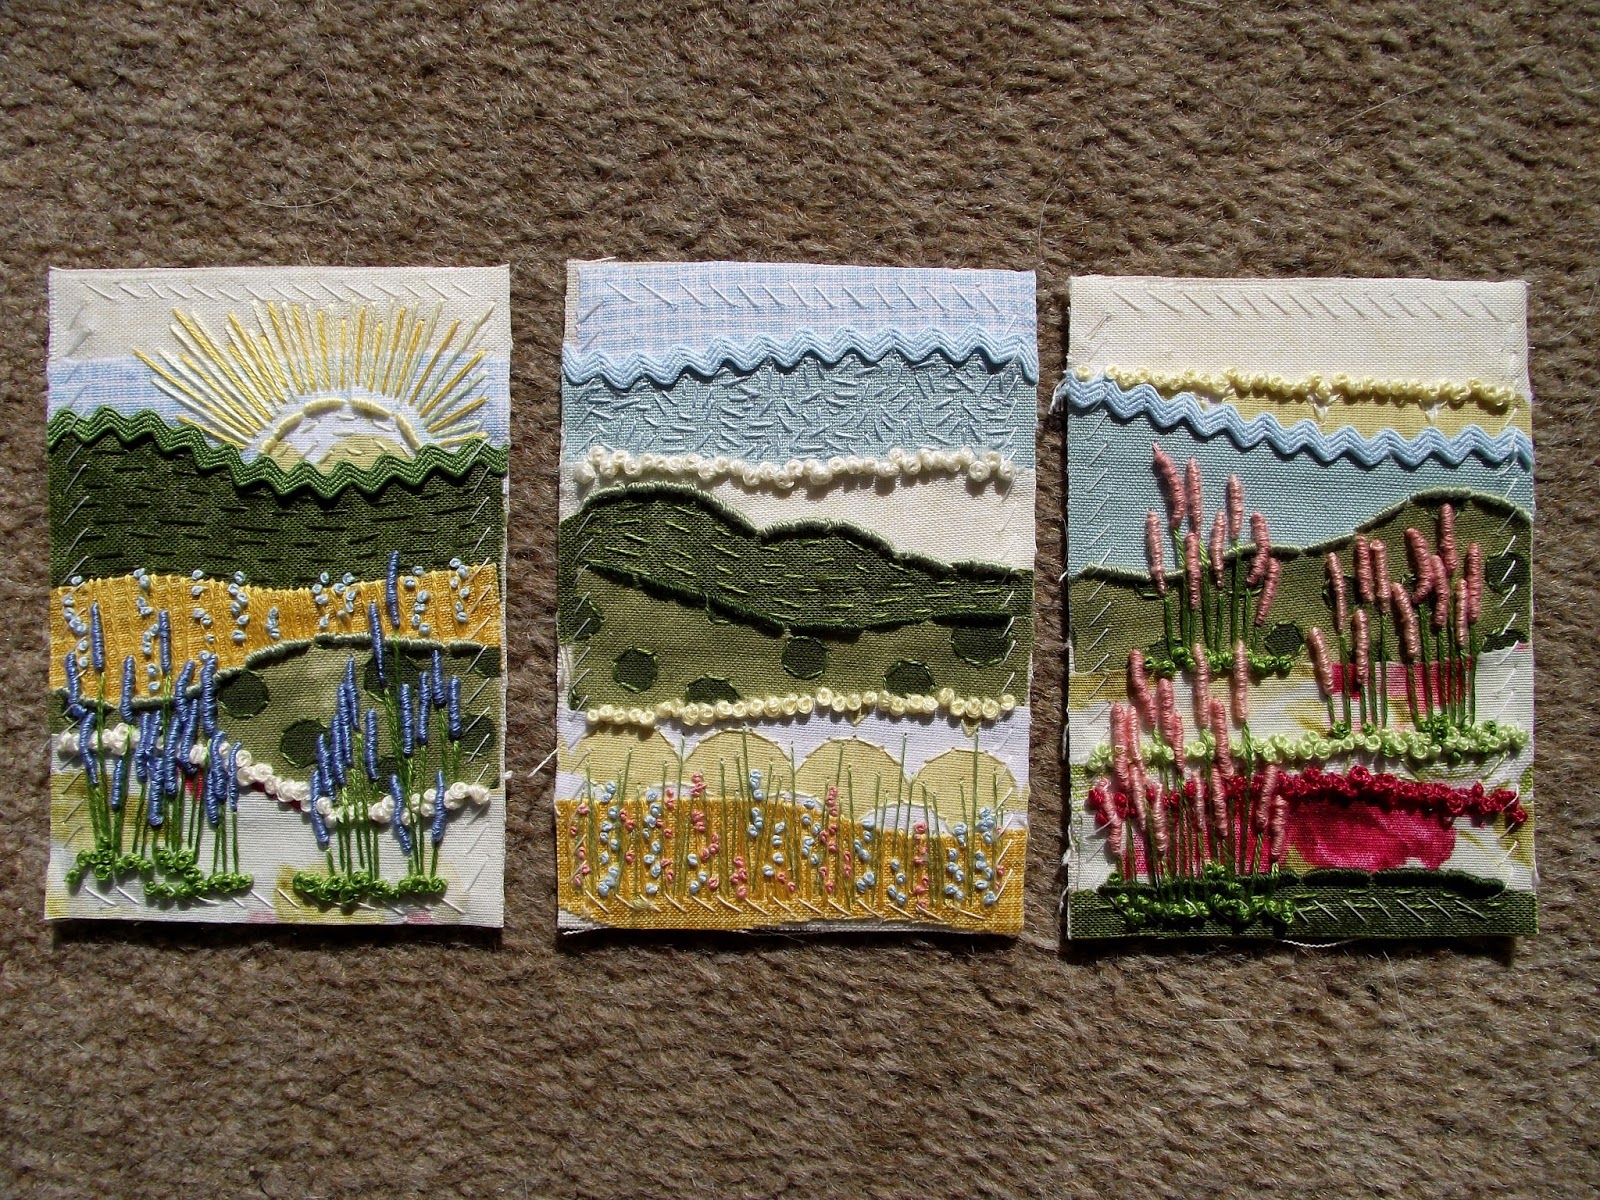
I was thinking about one of the comments that was made on my recent, Heather Stitchscape, about the use of a bright green that I thought a tad too zesty. The comment was that the brightness of the thread made it look like sunshine lighting up the top of the hill. As this Stitchscape does actually include a glowing sun, I have tried to follow this idea through with a sense of dappled evening light, and have created two-tone effects in my seed stitch areas which I am thrilled with! You can't really see it all that well in the images where the thread is darker (above and below), but in the section where the threads are much lighter it shows up a bit more on camera.


I love the effect of this and will definitely try to use it again!


I really like these little areas of satin stitch too. Not all of the holes are going to be filled, some just circled with back stitch, but it still makes me want to check the texture by running my fingers over it. I was thinking perhaps they could represent rabbit warren entrances, or perhaps mole holes? It could be mole hill!


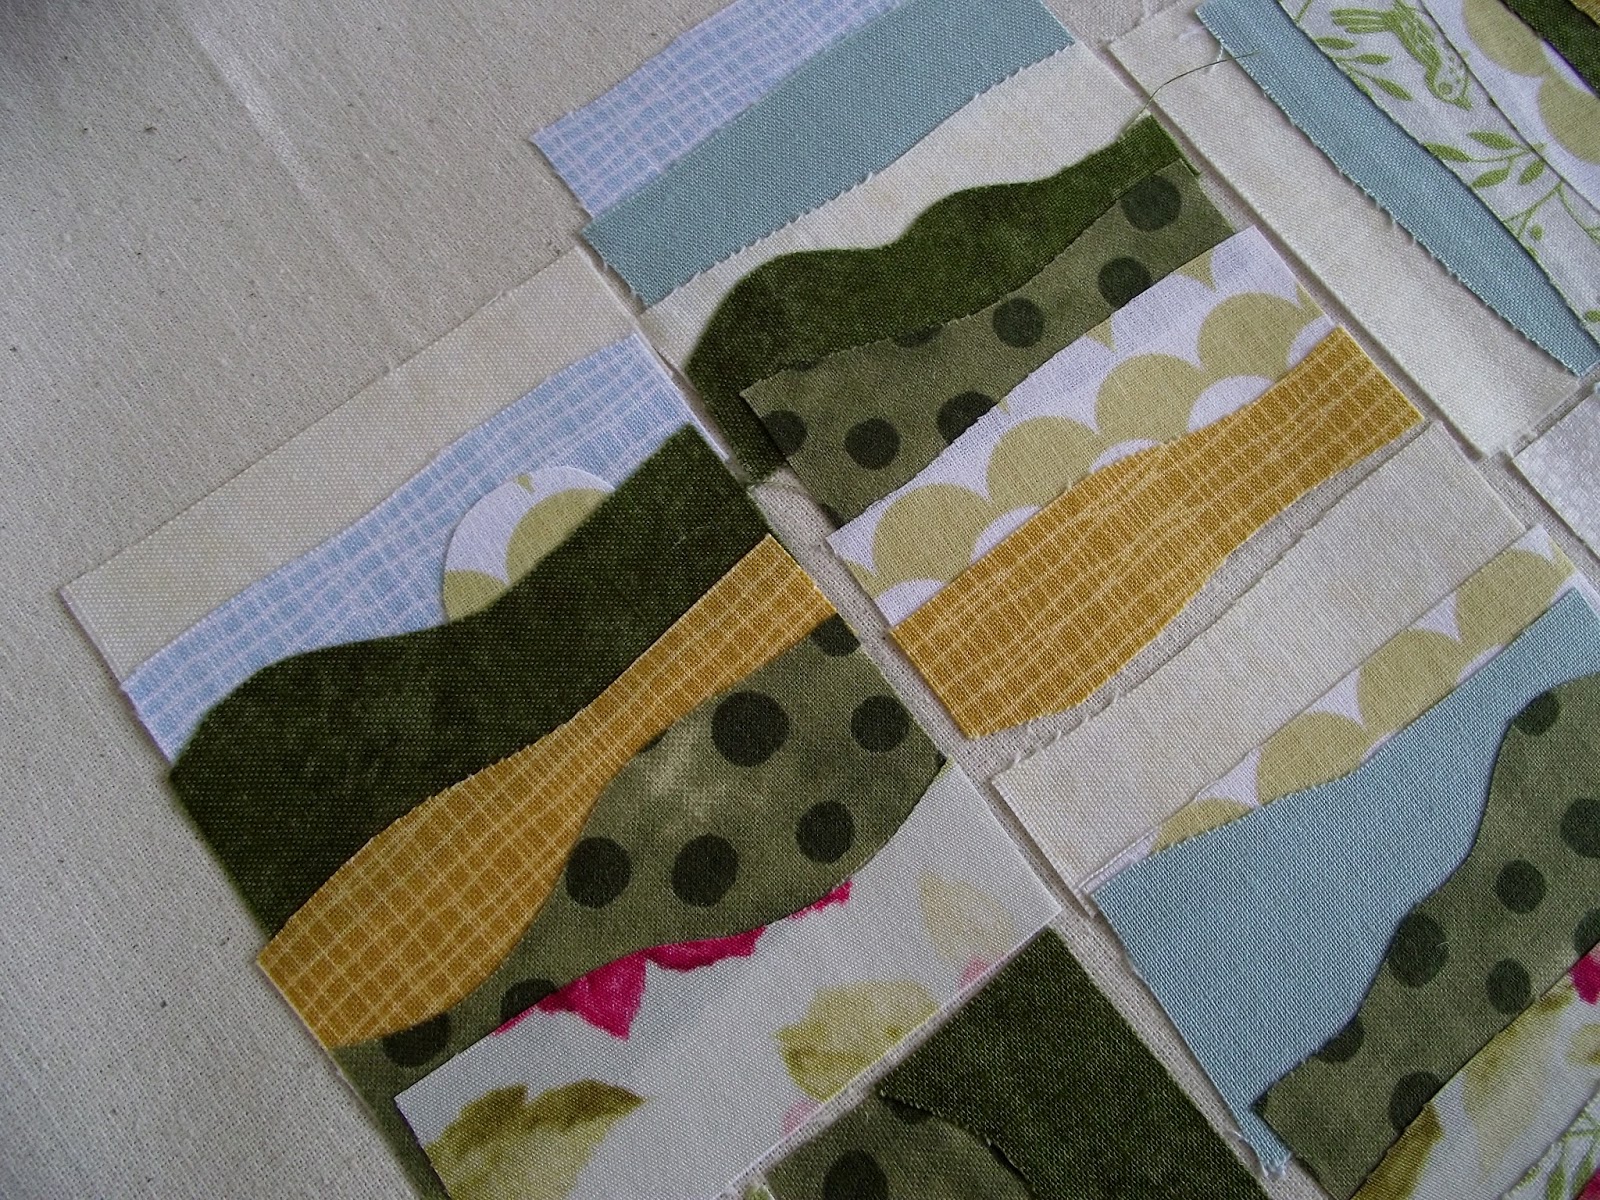
Also yesterday whilst I was in the studio, I started a new collection of mini stitchscapes. This time I was trying for a sunset feel where the colours are so intense and bold you can't look away from them, it's like looking at the surface of Mars! I'm seeing a few of these skies on my way home on the bus at the moment, and love the way it changes from orange to pink to purple. I have tried to limit myself a bit more on how many fabrics I put into these minis as I mentioned in my last post that I got a tad carried away and squeezed in lots of layers. This time I have restricted myself to a maximum of 5 layers, although the majority of them have 4 so maybe I can complete them a bit faster.


I bought the most beautiful sunset printed cotton fabric at the Olympia Knitting & Stitching show, and this is the absolute star of these little minis as the other colours have been chosen to match that specific strip, whether its pinks and purples or yellows and oranges.
Some of the minis are just sky (at the moment) and others go down to the ground with greens acting as darkened hillside. I have also tried a few more shaped layers to hint at forests although I'm not sure if I like those yet. I shall keep these on the back burner for now until I finish my Flowing River Stitchscape- which shouldn't be too long in the future!


Of course, today is The Mother's Day. We have already changed our clocks, eaten an enormous three course breakfast involving fruit salad, croissants and bacon & eggs, given The Mother her presents- washi tape, mini pegs, a helium balloon and a pretty trio of flowers in a jar. I have also bought tickets for myself, The Mother and The Grandmother to see the new Beauty and The Beast film in the cinema this evening which is rather exciting.


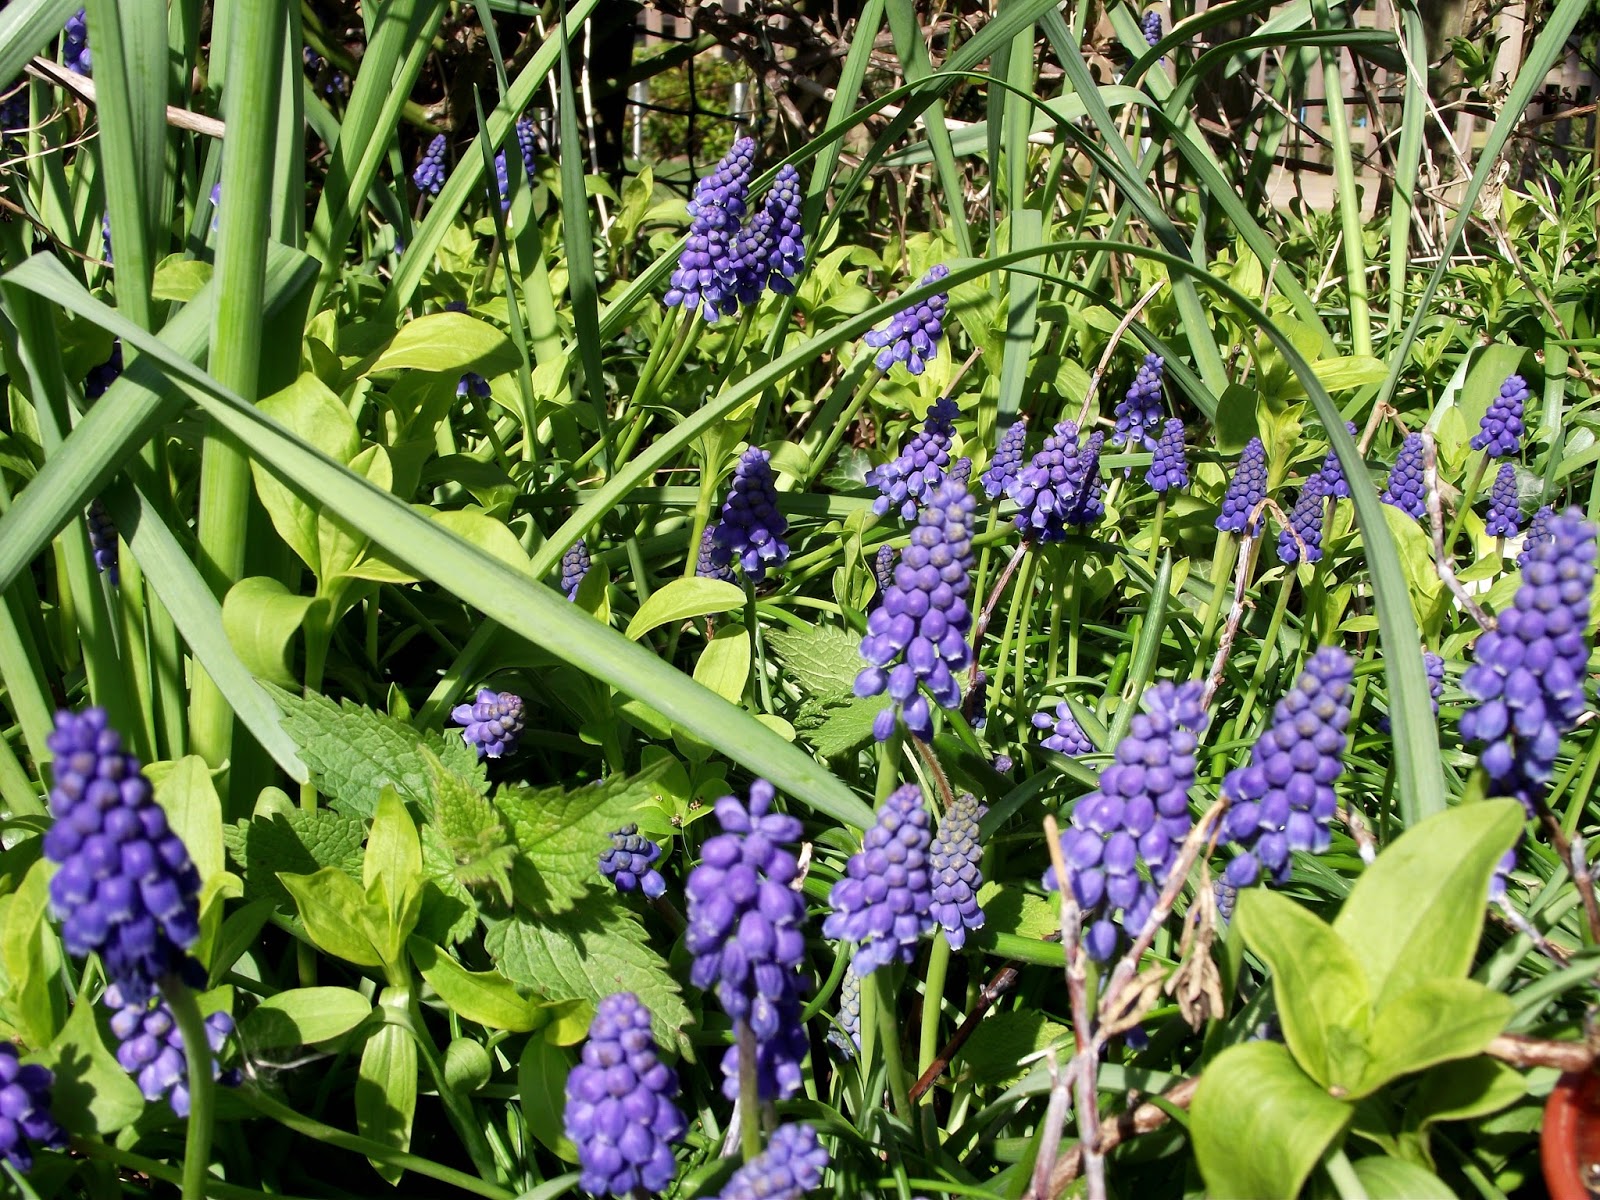
The weather is absolutely glorious- although pretty windy. All of the flowers are dancing and nodding their heads in the breeze which we have taken as a good sign and a celebration of Mother's Day.


Ziggy also gave The Mother a card to celebrate so is now feeling rather chuffed with himself and can relax in the garden for the rest of the day. It's exhausting having to watch other people open presents! Enjoy the rest of your weekend. x


Saturday 25 March 2017

Stitchscape Minis


Aren't these the cutest things?! Mini baby Stitchscapes! I was thinking a couple of weeks ago about how much I've missed making ATCs (Artist Trading Cards) since my group closed down due to lack of interest, and pondering about making smaller versions of my Stitchscapes in an attempt to diversify my product range- so I hit upon the idea of combining the two!


The cards are the same size as the ATCs- 2.5 inches by 3.5 inches- which is about the size of modern day trading cards, and I have backed them with thin card like I used to do to make them more sturdy, but you could do what you liked with them; pop them into a little box frame, glue them to the front of  greetings cards for a special message, or just keep them in their little acetate envelopes.


The idea behind these was to speed things up, but in reality I think I made them too complicated and I ended up spending the same, if not more, amount of time as I would on a full sized Stitchscape. I did approach them slightly differently as I chose a selection of fabrics and ironed entire strips of them with Bondaweb, which is a double sided interfacing. You cut a strip of Bondaweb and iron it with paper side up onto the back of your fabric, then cut your shape, peel off the paper, leaving the sticky glue behind, and iron the shape down to heat and set the glue. Much quicker than tacking the fabrics down with thread!


I wanted them to seem the same as a proper Stitchscape though so my approach to stitching was pretty much the same, working up the layers and adding stitches based on the fabric print, then embellishing with bullion knot flowers. I particularly like the little wheatfield inspired cards where I have put in little tiny french knots in pastel colours, they are so delicate!


A couple of my pieces had blazing sunshine in them which I really enjoyed embroidering in. My current Flowing River Stitchscape has yet to have its sunshine put in so I was thinking of my technique here. That's the other great thing about mini Stitchscapes, I can use them as testers to try out little ideas on a small scale before making them big!


Each of these minis has a strip of mini ric-rac to add to the texture, either a blue in the sky or a green in the fields. I like the idea that even the trimmings used have been scaled down to size!
There is my usual range of stitches in these pieces; kantha stitch (layers of running stitch), french knots, bullion knots, straight stitch, whip stitch, back stitch, fly stitch, seed stitch- my go to guys for all Stitchscapes. It's the combination of these that makes things interesting, and also the sizes- whether they have been scaled up or down; like in the below image with large fly stitches to represent birds and tiny fly stitches hinting at the heads of wheat, or the tiny one twist french knots for the distant poppies and the larger five twist french knots for the heavy skyline.


I shall have to try and limit myself a little bit more for the next lot! I wonder what theme I could give them? Any thoughts?


Tuesday 21 March 2017

In The Studio


Yes! We are at one of those times of year when I get up just minutes before the sun in the morning so that when I come downstairs I am greeted with these glorious views!! The photo above is a bit out of focus as I had to stop whilst walking to the bus stop and take the zoomed in image on my phone. It was really misty and there was this ball of light which looked like it had been caught inside the cloud, oh my, it was breathtaking!


The golden sunrises are just as lovely and it always makes me think of things I could be doing with my stitchscapes. Do you see the layers like I do? Layers of deep purple, or blue perhaps, at the bottom, inching up to different shades of grey and then POW!! with the yellows and oranges, perhaps a gentle lavender at the top.


I can't look at anything now without thinking about how it could be translated into fabric and stitches. The below image could be layers of warm greys and deep chocolate with a hairy fancy yarn to recreate the tree branches, or perhaps layers of fly stitch with different thicknesses overlapping each other.


Saturday was the first day I properly went to my new studio to w.o.r.k. It was rather nice walking there and collecting some poor decapitated Daffodils on the way to put in a pot, then turning on the lights, radio and heating before settling down to trim the edges of all of my new prints. The nicest part was knowing that I could leave it all exactly where I wanted to when I left, rather than having to hastily pile it all up in a corner. It's also really lovely being able to see my previous stitchscapes all out on display, even if it's just me seeing them.


The Moorland Stitchscape and Snowy Alps Stitchscape are now safely in their frames and I also spent a little time mounting up some other stitchscapes ready for framing when I next visit the shed.
My little home away from home!


Saturday 18 March 2017

Pots


We had a brilliant, if messy, time at Guides on Thursday. The girls were designing and painting flower pots to give as gifts to their Mother's on Mother's Day next weekend. The idea was to decorate the pot, and then the girls could fill it with whatever they liked to make up the present; smellies, chocolate, or perhaps an actual plant!


It always amazes me how engrossed children can get in their tasks. Often they will get bored quickly and we have to provide back up activities for them to do, but for this project they were totally involved for the entire hour and a half long meeting! The ideas were also completely their own as we didn't provide an example like we sometimes do. The girls were quite literally handed the pots and plates of paint and told to make it pretty. So they did!


We threw in a little bit about colour theory and the colour wheel too, just for good measure, and I had quite a few discussions on how to make the best green, or light peach, or the different ways of creating browns.


These are a few of my favourite pots from the evening. There were quite a few with faces, lots of characters as well as bold patterns. To compliment the paint, we had also provided some paper flowers and lots of different colours of raffia to tie around the pots but the girls could choose whether or not to use them. In case you aren't sure, the little blue chap above is a very sweet penguin!


I'm hoping that come next Sunday there will be lots of proud Mums receiving their beautiful pots! I don't think the pot on the above left is a specific being, but it is certainly cute- and the pot on the right is the family dog who features in quite a few of our drawn projects! Love that cheeky little tongue poking out.
Some of the girls didn't want to put real flowers in their pots, but made their own flowers using tissue paper dragged unceremoniously from the craft cupboard, lots of sellotape, paper flowers and raffia. They look brilliant!
Now I just have to think of my own present to give The Mother!!


Monday 13 March 2017

Wendy Lace Shawl


You may remember a couple of weeks ago I was moaning about being given a highly complicated crochet project to make for display purposes at work. It was taking a lot of concentration to start the pattern off as the joining as you go method could go horrifically wrong if you made one wrong move at the very beginning. 
Eventually I cracked it (after much frogging and muttered swearing) and could finally hand it in to await its turn on display changing day. 


As well as the main body of the stole, there was a separate flower fastening which is a bit like a brooch/button to keep the shawl wrapped artistically around you. I think it all looks rather lovely now it's completed, and the yarn- Wendy Fleur DK- is gorgeous! So light and fluffy and soft. It's a pain to undo though as the little fibres knot themselves together, but if you haven't made any mistakes in the first instance it should all be fine.


The pattern for those of you interested is the Wendy Crochet Stole 5994, and the colours I was given to use were:

* 3350 Jasmine * 3351 Stephanotis * 3352 Clematis *

This would be a lovely summers evening stole I think as it is not too hot and looks fabulous! I would be interested to hear if any of you are inspired to make your own, and how you found reading the pattern. Personally I would highly recommend sitting in a room by yourself in peace and quiet so that you don't look too daft when you start counting out loud (or throwing the half finished garment across the floor)!

Layers


I've had a new idea!! It came to me whilst we were looking through the superbly inspiring stalls at the Knitting and Stitching Show. An embroidery company that The Mother loves, Rowandean, which designs and sells embroidery kits, had some beautiful finished examples of their kits on the walls. The ones which caught my attention were tiny. Simple, elegant little pieces which were essentially a rectangle of organza on a plain backing, with little floral stitches in one corner, reminded me very much of my ATCs which I haven't been able to make for many months since my ATC group closed down.


There are so many things you can do with ATCs (Artist Trading Cards); leave them as small cards for swaps, attach them to the fronts of greetings cards, or frame them in simple frames, either on their own or in sets. Because of their size, they can also be mass produced-ish, so I thought I would give making stitchscape versions a go. It's funny how things can be brought together, and looking back over some of my old ATC designs, it would appear I was making stitchscapes long before I realised!


I decided that rather than spending time tacking the fabrics down like I would normally, it would be much quicker to use Bondaweb and iron them down. I chose a selection of fabrics to use and ironed strips of Bondaweb to the back, then cut them into smaller strips and arranged them to cover the ATC shape before removing the paper backing and ironing them down.


It was a very pleasant hour playing with fabric and colour, arranging and rearranging, playing with composition and layering. The themes going through my head were cornfields, rapeseed fields, poppy fields, Spring and Summer. Now that I have my backgrounds made up, I will go back over them and work in a similar way to my normal 'scapes, but on a pared down scale. It should be fun!


I am also very excited to say that as I have outgrown the living room with my Stitchscapes (those frames take up quite a lot of space!), I have borrowed some space at a relative's house. They had a spare outbuilding that was only being used to store tables and chairs etc and said that I could use it to put my bits and bobs in. The above photo is a sort of 'before', except that we had already been in and removed quite a lot, and The Mother had given it the once over with a duster during the week (I think she's quite relieved to get rid of me).


Today I moved in!!! We removed the remaining odd bits of furniture and 'stuff' being stored there, although I have kept the big table, a chest of drawers and an iron case which didn't have anywhere else to go. There are lots of available plug sockets which is handy as I can plug in the old radiator to keep away any damp, and still have lots of space for a radio and some lamps to make it homely.


You can see where my beautiful bowl has ended up! Looking rather marvellous on the window ledge there with some of my framed 'scapes. There are still some things to come in to this room to make it more practical, at some point there are shelves going in on the back walls so that I can display more of my stitchscapes and bring in some of my fat quarters of fabric- I am fully intending on spending many mindless hours re-arranging them into piles according to pattern and colour. I think I will also need a pin board on the wall for images or ideas to be stuck to- so much to think about. It's not a glamorous space- the carpet tiles don't fit properly and the skirting boards stop and start at random places along the walls, but it is mine to use and that's fine.


I would also quite like to re-paint the wall a lighter colour (it's quite yellow at the moment) but there are some holes to be filled in and it's not urgent. As I couldn't remove the old trunk, I have prettified it with some of my crochet blankets (also intended to be practical in the winter should it get a little chilly whilst I'm working in there). Perhaps I could also have a comfy chair in the corner to sit and sew in at weekends? Oh the possibilities!


It seemed like the weather was pleased with my new space too, there were beautiful blue skies and balmy temperatures with blazing sunshine lighting all corners of the garden. It was such a good omen as I pottered around in my crocs, laying rugs and dusting the leaves of my Prayer plant. I am visualising many quiet, relaxed days spent sat in the garden, inches away from my 'room of inspiration'.


Blue sky from every angle!


Yup, I think I could make myself quite at home here!