
I had a brilliant workshop at Made & Making recently. It was fully booked which is always something of a compliment - especially as this creative workshop is a repeated one and we've run it several times before. What was especially nice is that two of the ladies in this workshop were also at the previous class I did with the little mini hoops (the 2-5cm ones) and they loved it so much they immediately went home and booked onto the next one!!
All of the photos in this post are of the work started by the ladies who came, except one who managed to sneak out without my catching her.
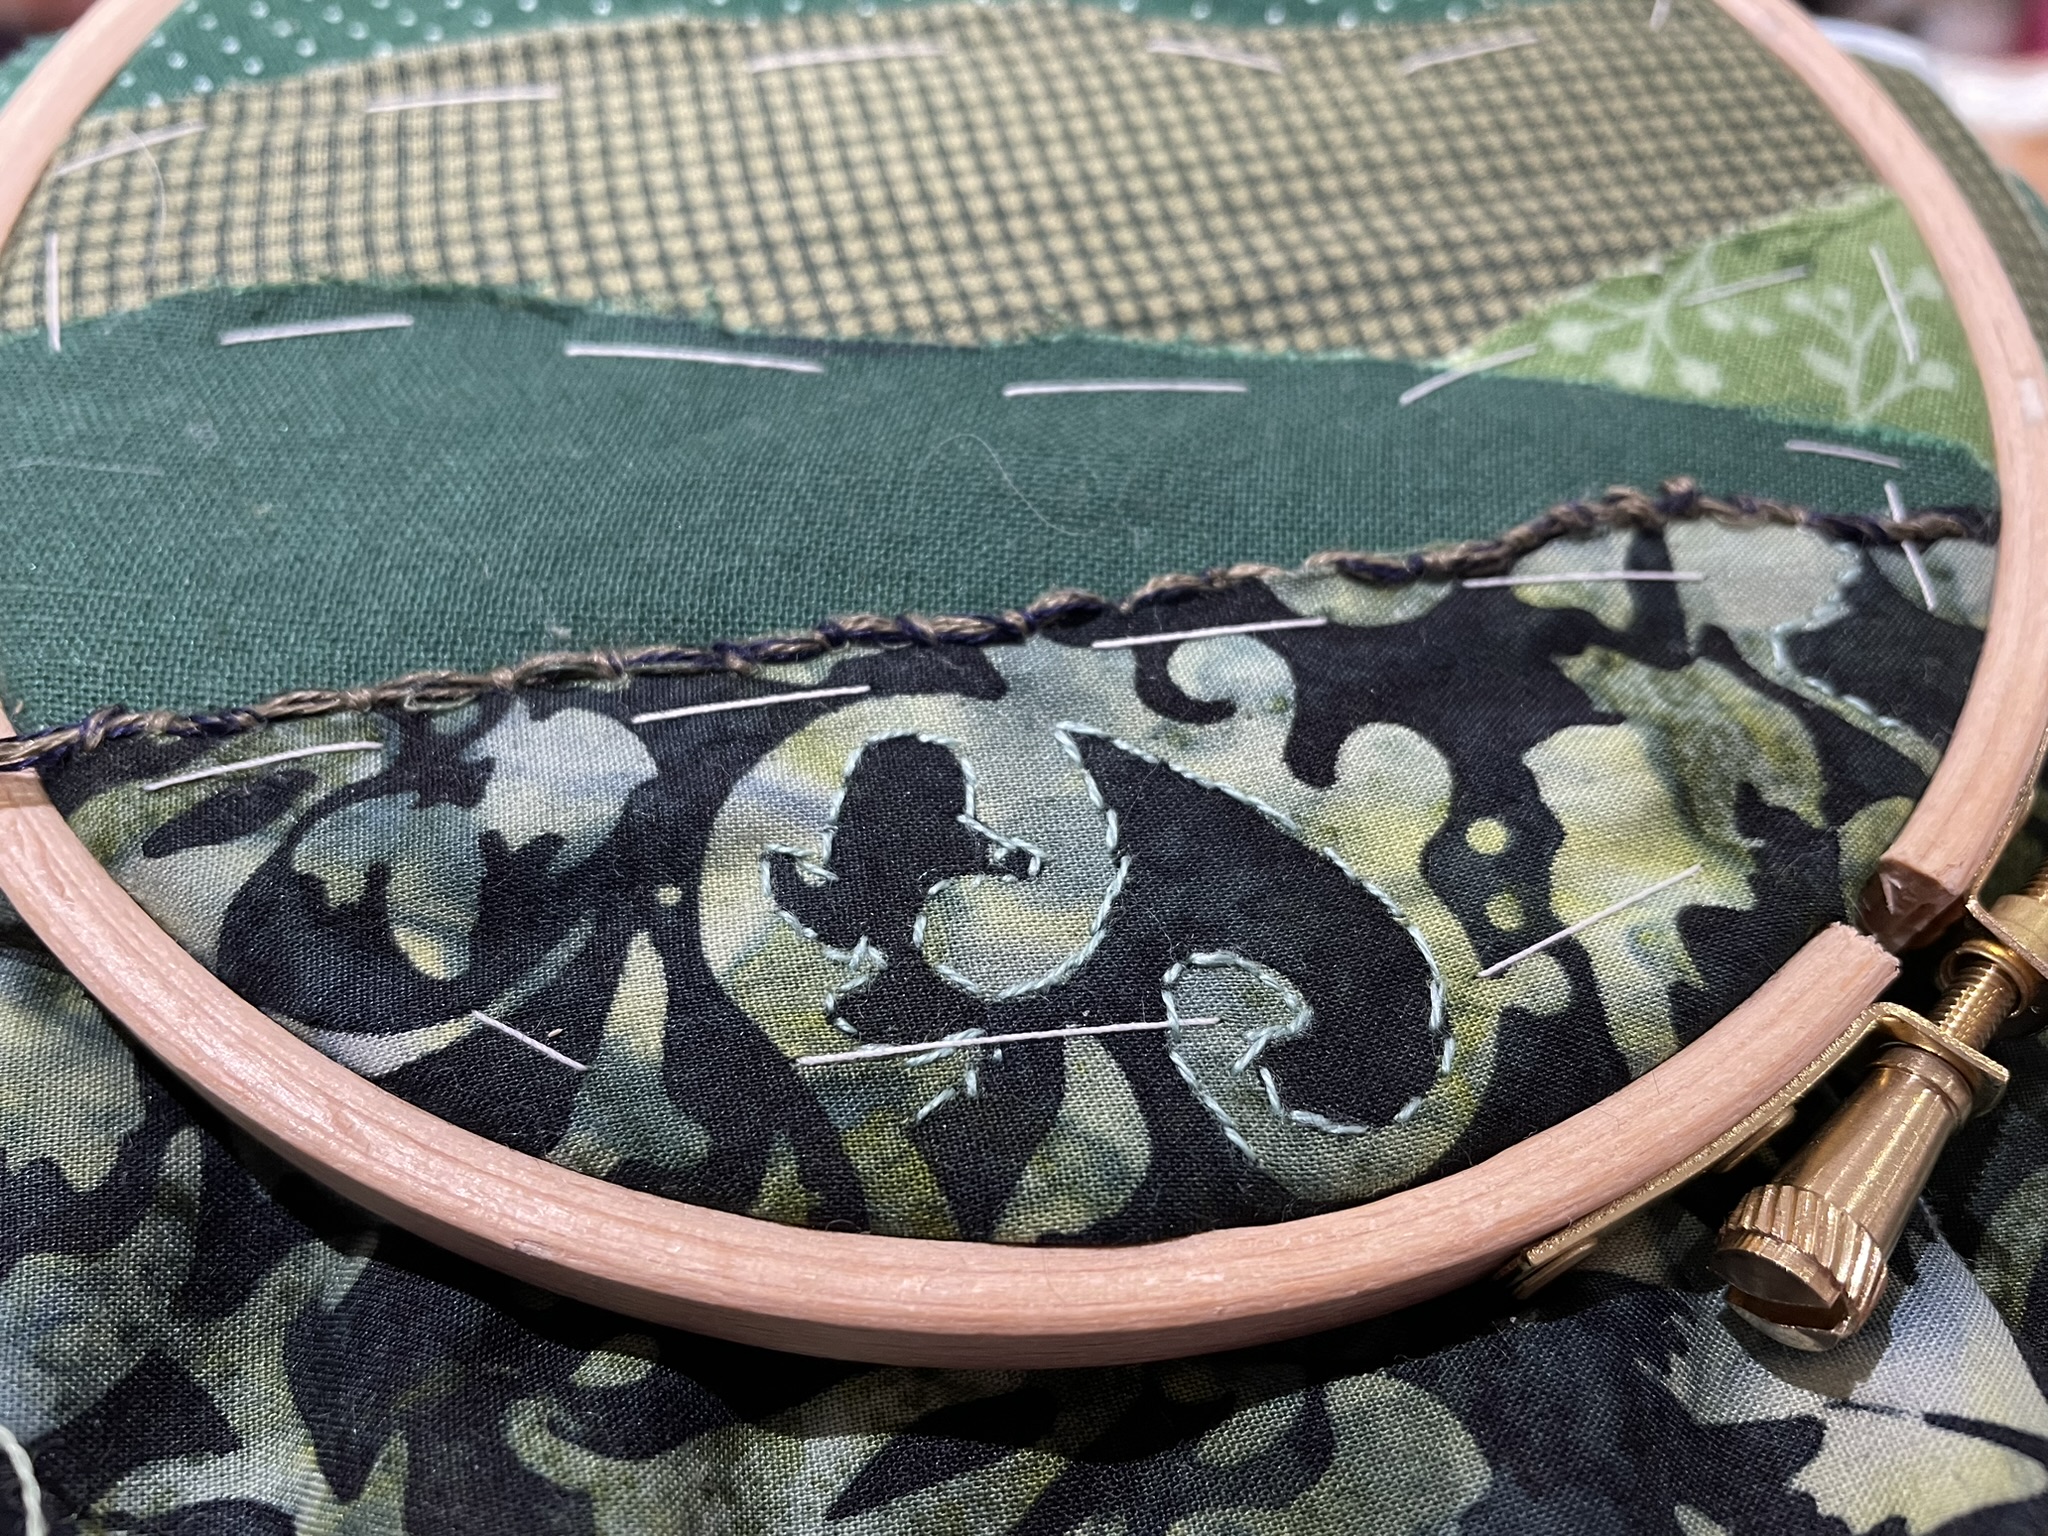
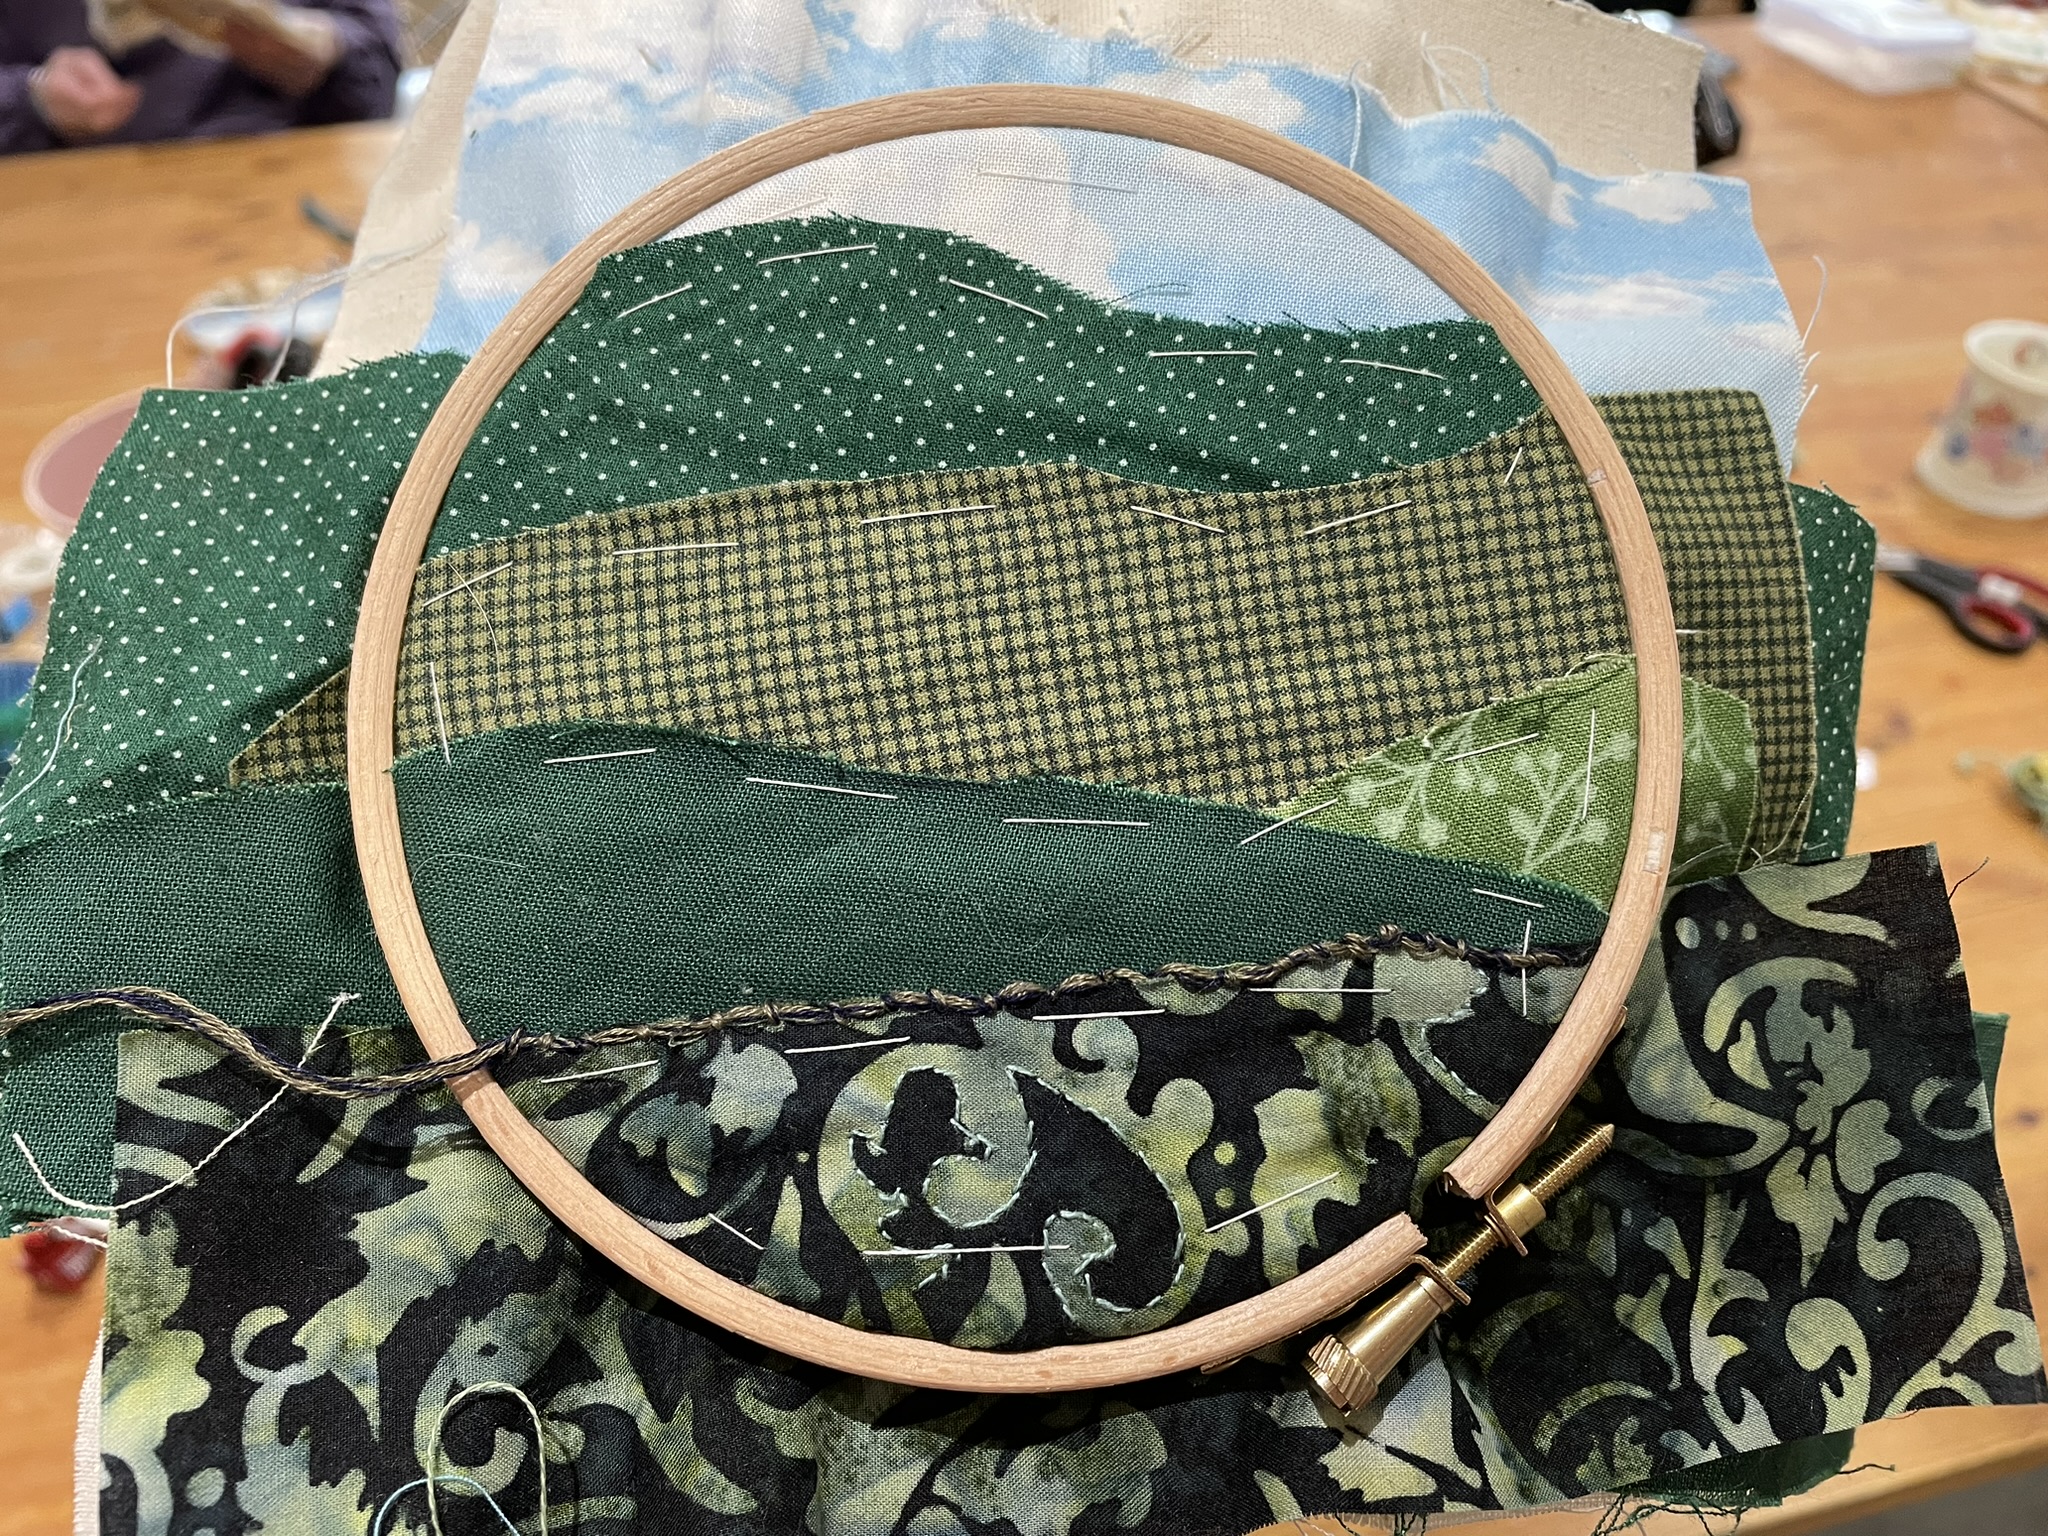
The hardest part of a Stitchscape is starting one so really the morning is spent putting together the fabrics, deciding what the vague scene is and getting that secured down. Then, after lunch we can sit and start on the embroidery, learning new stitches and thinking about thread colours. I would love to do a retreat where you can spend a couple of days stitching because really that's what you need to really feel like you're on the way with the textures.
A creative workshop allows for one on one tutoring on how to make the embroidery stitches and because everyone makes something completely different, often I end up teaching different ones to different people. The lady above hadn't done any embroidery and had a practice piece of calico so for her it was about learning and practising a couple of stitches over and over - she did these gorgeous blanket stitch trees which are really lovely! Great fabric choice too.
Everybody is sent home with a print out of ideas on layering and types of stitches for certain patterns of fabrics, as well as diagrams with my own wording of how to make my favourite stitches, and there is also my website with tutorials on how to finish pieces or help with some of the more difficult stitches. I'm adding to these when I can to build up a really good help section to back up my workshop - but also one that everyone else can use as well, whether they're just interested or working on a kit.
In this class bullion knots were a big learning curve (they usually are), and this lady with her lovely lace layers had also never embroidered before but made lots of fabulous bullion knots after just one tutorial! I really like the different shapes and stitches with the grey polka dot - it's a good example of the different things you can do with polka dot fabrics. In this case she's added extra spots in dark brown between the spots in that central semicircle and then on either side has made rows of diagonal back stitch which makes it look like something is pouring down the sides into the middle.
Sometimes the workshops aren't so much about making lots of obvious progress but actually talking through ideas and being given the confidence to have a go. Things are unpicked and started again and that's ok - when you're learning you can't always expect to do everything right all of the time. Being in a wonderfully creative environment, like the Made & Making studio, surrounded by like minded creative people all having a natter about this, that and everything in-between is often enough of a relaxing day to feel inspired when you get home.
Although most of the Stitchscapes end up being landscape based, as my own usually are, occasionally there are some which end up slightly more abstract because that's where the stitching has taken them and that's cool too! This piece started out inspired by water lilies and lily ponds so the woven wheel stitches are emulating the lilies, but it's giving an overall sense rather than specifically looking at a lily pond with a bank etc. The colours in this are lovely.
And this one I think is the first ever train to be put into a Stitchscape! Stitching by yourself is very mindful, but stitching with others can spark all kinds of ideas and this piece is a prime example as the fabric layer with the arches on had been included because the lady loved it, but as we were talking about what it could be, someone else peeped over her shoulder and suggested that it could be a viaduct - which led to it being a viaduct for a train track! The train itself was then created with satin stitch and with little french knot puffs of smoke (my idea) - completely not something that had been intended when the lady had initially put the fabrics together but works so perfectly! A team effort.
If you haven't signed up to come along to a workshop with me then definitely have a think about it - it's a nice day out if nothing else!


.jpg)
.jpg)