I've been working on creating little gardens for my newly stitched butterflies to live in. The theme is actually Butterfly House but I figure the polytunnel environments you can visit and walk through are so pretty with their lovely plants and brightly coloured butterflies flying all around you, the cards needed to be quite bright and garden-like. It's not at all a realistic impression of butterflies, or where they'd live but I'm taking a lot of artistic license with these.
My method is to pull out any fabric from my stash that I think would work (within reason - I have a large stash!) and set them all out on the table. This time I had to match them to the butterflies I'd already created so I was comparing them with each other and also with my winged friends.
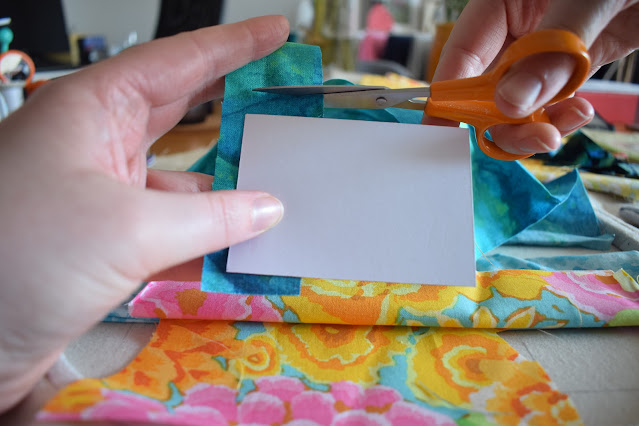
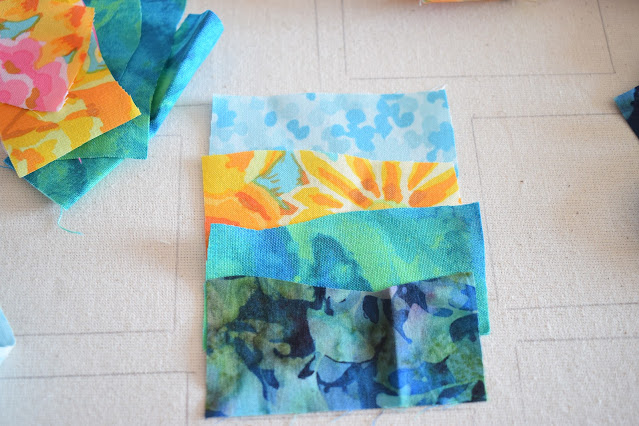
The fabrics are all wiggle cut unless I want a specific shape. I kind of divide the overall length of the card in four and then just set-to with a pair of scissors, meandering them in a wiggly line along the fabric making lazy little hills and dips. Once I have a long line then I'll hold up the card back to it and just snip off a section, making sure there is some overlap. This also guarantees that each background will be a different shape (as well as potentially a different pattern) so it makes it all the more exciting, and each card unique.
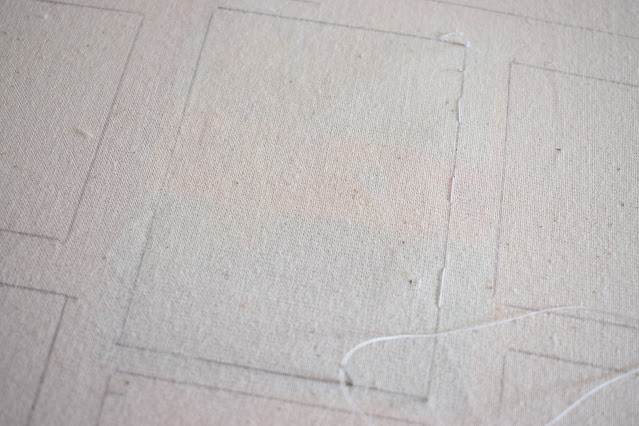
Once all of my fabrics are cut, I layer them up on the front, hold them in place with one hand and stitch along the drawn outline on the back. If you stitch one of the longest edges first then you will trap all of the fabrics and it's just a case of keeping them smooth and flat with your fingers. To start it's a bit fiddly but you get used to the flipping back and forth, and I will also use the edge of my dining table to help me balance and support the hoop. Once these stitches are in place you can always see where the edges of your card are so it's worth doing.
Hopefully I'll be able to keep you updated on what my layers start to look like as I begin to stitch my textures on! I have no plans at the moment so I will just sit back and see where my needle takes me.


No comments:
Post a Comment