Wednesday, 27 January 2021
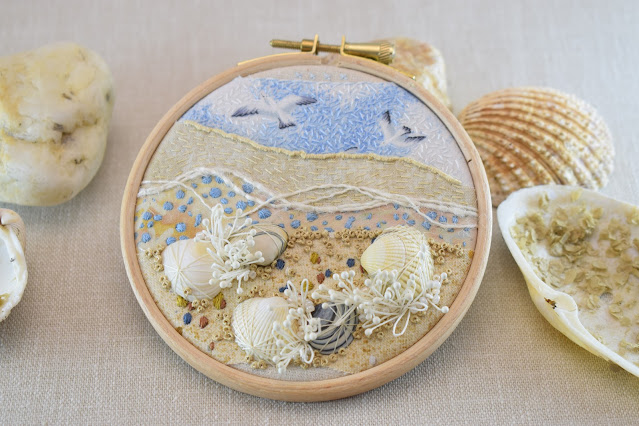
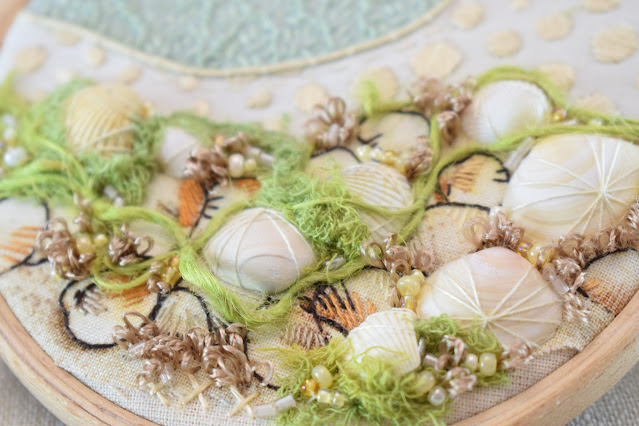
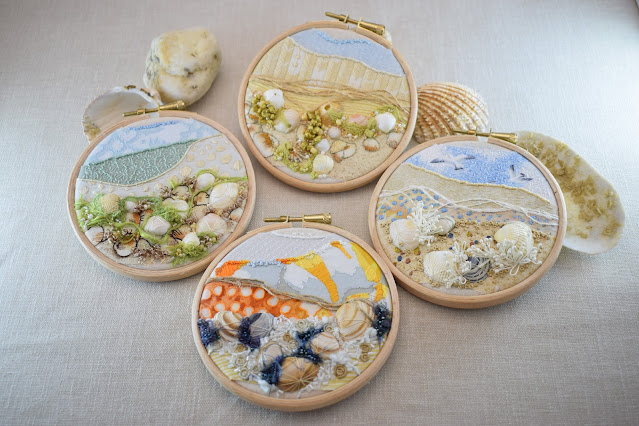
Mini SeaScapes

Friday, 22 January 2021
Camber Sands Stitchscape
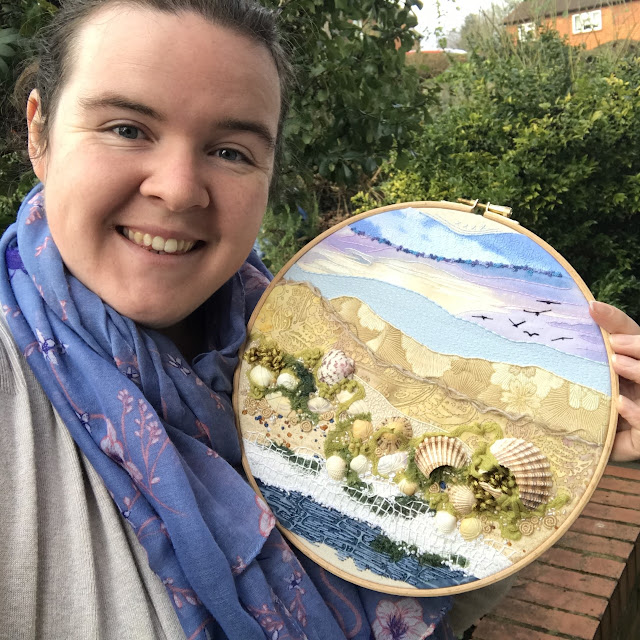
I absolutely LOVE this Stitchscape!! I am beyond chuffed with how it turned out, and I've spent all afternoon photographing it to try and get the best angles. There are just so many nooks and crannies that have been created (not all intentionally), and the combination of everything is quite realistic I think.
Initially I was feeling a bit ambitious. I purchased a 25cm hoop on a whim at some point before the first lockdown, but wasn't really sure what to do with it as my biggest Stitchscapes have been around the 20cm mark, either stitched in a square hoop (which makes it slightly bigger) or the usual circular shape. It doesn't seem much to just add a couple of centimetres on to the diameter, but when you're hand stitching it, those extra centimetres all add up!
But in September last year my family had a 'staycation'. There was too much risk actually travelling anywhere, even staying somewhere else in the UK. We instead decided to visit places that we hadn't visited before/for a while in our local area, all within about 2 hours drive from the house, and one of my requests was to go to Camber Sands and Dungeness. I'd never been to either and it was fascinating how different the two beaches were!! Dungeness was all pebbles, eerie but quaint little shacks, big lighthouses, the nuclear power station (elephant in the room) and a miniature steam railway station. I always go prepared to beaches with bags to bring back any finds and the shells we were picking up were all fairly chunky, dark coloured ones with defined ridges which I think are called Common Cockles.
Camber was completely different!! Just a few miles round the coast and it was a long stretch of sand which just got bigger and bigger as the tide went out. It was just sand, mind you, there were no fun rock pools or anything, but here the shells were smaller, more delicate and lighter in colour. As well as the Cockle shells (ridged ones) there were beautifully coloured smooth triangular shells (Banded Wedge Shells?) which had stripes in peach, purple, soft yellow and cream. I must admit I enjoyed shell hunting more on this beach than the other.
Because of the scale of the Dungeness shells I thought they would fit perfectly with the size of the 25cm hoop so I set to my stash, pulling out beachy fabrics that worked together. The shell above was a one off find in Camber, the colours are absolutely stunning with those purples, and it absolutely had to be included. This then helped to inform the colours of the fabrics I chose, some of which have a purplish hue to them, like the batik it's sitting on, and the purple sky fabric with the birds.
There are several ways to stitch on shells, depending on their shape and size. I do have a Youtube tutorial about stitching on shells, which features the initial layout and stitching of these shells, as well as some fabric placement for a much smaller hoop I made also using Camber shells. If you would be interested in watching (I warn you, it's long!) please click here, or visit the tutorials section on my website. Regardless of which way works best for your shell, if you can match the thread colour as closely as possible, most people don't notice the threads. I've had several queries as to whether I've glued these down, and some disbelief (until I pointed out the visible stitching) when I said they were all embroidered only.
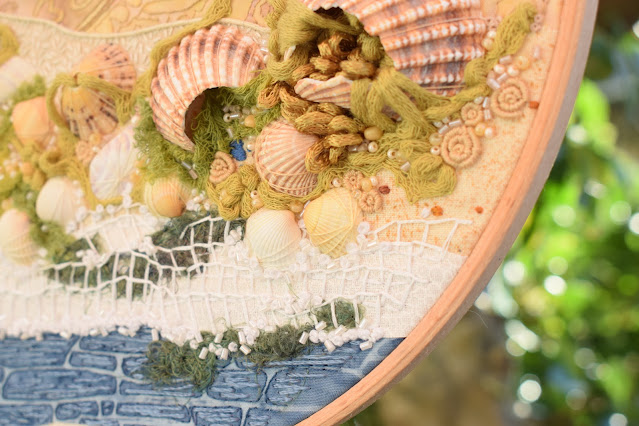
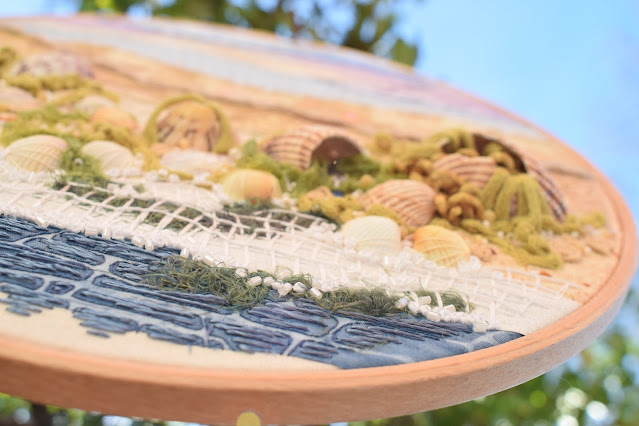
I loved these broken shells and the way they created little caves for me to fill with this fantastic fancy yarn, pieces of dyed scrim or silk throwsters waste. The combinations work really well and the silk waste is fantastic as it's got a mind of its own and just goes everywhere! The yarn itself is couched down leaving huge loops before the next couch so it moves organically. I've bounced it backwards and forwards over the broken sides of the above shell so it builds up layers and looks like it's almost frothing out of the hole. Further out on the sand I've stretch the knitted yarn area to make it flat and wide, like that seaweedy stuff that covers rocks and is soft and squidgy to walk on.
I've deliberately put some of the silk waste in the lapping water edge to emulate the seaweed that floats and gets caught around your legs when you go paddling. It just wanders backwards and forwards with the tide until it catches on something.
The waves have been created with rows of blanket stitch, which is an idea I played around with last April with this Rockpool inspired sampler. I wanted something quite lacy and delicate, so worked a few rows of back stitch to create an even base to work from, then worked different length blanket stitches between each of the back stitches. You have to be a bit careful with the layering of these so the first blanket stitch layer to work is the one furthest up the beach so that the next few layers sit on top.
I've also added a little bit of discreet sparkle with some white beads just on the edge of the white fabric, where the sea horses turn to blue waves. It's not there to be glitzy and that noticeable, but more like bubbles that catch the light where the water draws itself up to have another go at the sand. The blue water is also fairly discreet as all of the attention is on the shells so I've used a DMC silky yarn which has fantastic lustre without showing off - you can just see the gorgeous effect it has in the below picture where a tiny ray of sunshine has crept in.
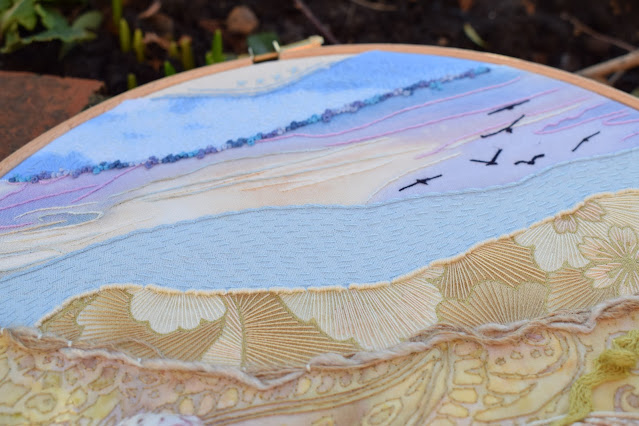
The layers further up have also been treated quite simply (although they still took a bit of time!!). The Paisley batik layer with its lovely purple sections has a single strand of back stitch around the pattern edges, apart from in a couple of areas where there was a long straight-ish line, where I have worked a whip stitch to create a bolder statement.
The layer above is a brilliant Japanese print with golden print marks. It's actually lots of neutral flowers but the smaller strip reminded me of sand dunes and the ripples you get in the sand. I've filled each layer with single strand straight stitches, working with the shapes to curve round and give movement. Where the fabric is lighter underneath, I've used a lighter thread and in some areas I've added a discreet pink colour between the lines to match the colour in the shells.
The plain blue layer above that has a single strand of running stitch worked in rows just to give texture, the fabulous purple sky fabric uses a variegated blue/cream DMC thread in the lighter creamier areas, and then a pinkish purple in the darker areas - the lines stitched with stem stitch. The birds in this section are already there in the print but I've picked them out with straight stitches and worked as delicately as possible with a dark navy. Another variegated thread has been used to work french knots on the fabric edge which balances a little bit of dark at the top. The final layer is a space dyed blue and has been worked with single stranded seed stitch in two colours to match the colours underneath.

