I have been inspired! I enjoyed making my
rockpool ATCs so much that I really wanted to make a little hoop with the same techniques. Plus, I came across a fantastic way to display embroidered hoops which I hadn't really seen before. A British company called
Barton Studios makes frames which you can put your embroidery hoops into which means they stay nice and taut in the hoop, and the whole thing pops in with little peg screws that you tighten with an allen key so that the hoop fits snuggly into a specially made frame.
I purchased one of the frames whilst on the bus on the way home one evening, and then immediately started creating the hoop when I got home. I thought it would be nice to sit out on the balcony in the sunshine before it gets too cold to do so but it was a pain really - the wind blew my fabrics off the balcony into the carpark below twice!! I had to dash down our stairs to fetch them in my Christmas socks. (Although I'm always wearing Christmas socks so it wasn't that really, more picking through the carpark with no shoes on.)
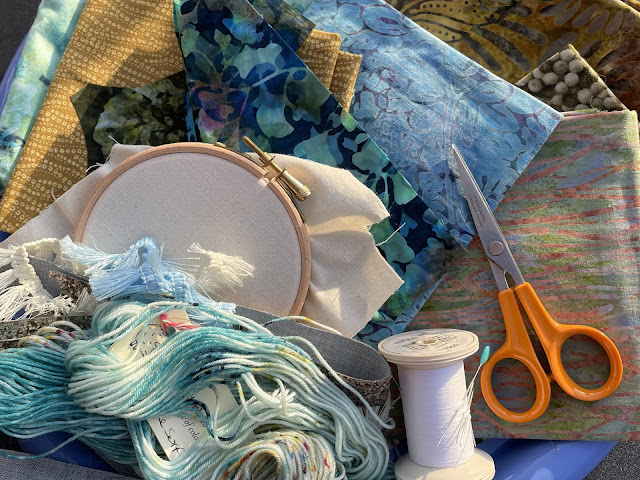
Some of the fabrics I have kept the same as the ones used in the ATCs and some were different ones I pulled out of my stash. There's a lot of batik patterns going on!! They are definitely one of my all time favourite types of pattern to work with. The fabric itself is always nice because the weave is so close that it doesn't fray when you cut it - although layers of the stuff can be tricky to stitch through for that very same reason.
I didn't have any kind of plans for this really, it was mostly a spur of the moment make and the viewpoint is different from my usual landscape scenes too. There is no calico (backing fabric) showing through and it is a birds-eye-view kind of scene with lots of rocks either side of a watery channel.
It was a relief to get the fabrics tacked down because I was determined to sit outside and the wind was just as determined to steal my fabric pieces! I didn't stay outside for much longer afterward though I must admit.
The first thing to do was to make it textured! I really want it to pop from the frame (which has since arrived and I was so excited I've framed something else in there for now). The same glittery tape has been stitched down as used in the cards, and I've twisted together white and blue fringing to make these fun sea anemones. They will need a haircut but I should have added them on after the texture stitching really (I got too excited) so it's easier to hold their hair back if they are longer.
Stitching around them can be a bit challenging!! I would like to add lots more texture to this piece though and it'll be interesting to see where it takes me. And what it will look like bursting out of the frame! Watch this space.


.jpg)

.jpg)
Your post was a great read! Your insights are valuable. Keep writing and sharing your thoughts!
ReplyDelete