

Yay! Welcome to the second blog post about my rockpool magnet pieces! These are so much fun and I have taken literally hundreds of photographs of them which is why I had to split my blog update about them into two parts. If you missed Part I do click here!
I love doing these photoshoots where my fold up light box comes out, the 'floor' is put down (in this case some neutral cotton fabric), two decorators battery floodlights are put either side of the box, usually raised up on tissue boxes or whatever is available in the kitchen to diffuse the light, and then I can add my faux flowers or leaves and, in this case, some big shells I have lurking in my collection! I probably look a bit weird with my head inside the box for the overhead shots though.

Although I've gone for a beachy feel for these photos (hopefully), I still added the leaves because a lot of these rockpool magnets have green in them somewhere for the seaweed so it matched nicely, plus it helps to hide the join at the back of the box where the fabric floor turns into the back of the box.
Whilst stitching the magnets I was very conscious of trying to make them slightly different colours and not have them all the same. I can't say I've recently spent a lot of time staring into rockpools but I don't remember them as being brightly coloured in the UK. You occasionally get some red, green or black seaweed but generally it's just green stuff with sand at the bottom. Please correct me if I'm wrong, and I'd love to see any photos of brightly coloured rockpools if you have them! For my stitched rockpools I've switched it up with some pale blue curly sheep wool (top image), mustard coloured embroidery floss which contrasts nicely with the green jute tape (image above) and different pink french knots with yellow beads for a super pretty vintage-esque rockpool (image below).


I've tried to add a few different techniques and combinations to these as well, and I absolutely love it when the stitches appear to be spilling over the hoop and sticking up like they can't be contained in their little hoop pool. The piece above has lots of loops of embroidery thread which were created by not pulling the thread all the way through before starting the next stitch. The height of the threads is varied and the loops then spill out all over the place, almost like they are moving under the water.
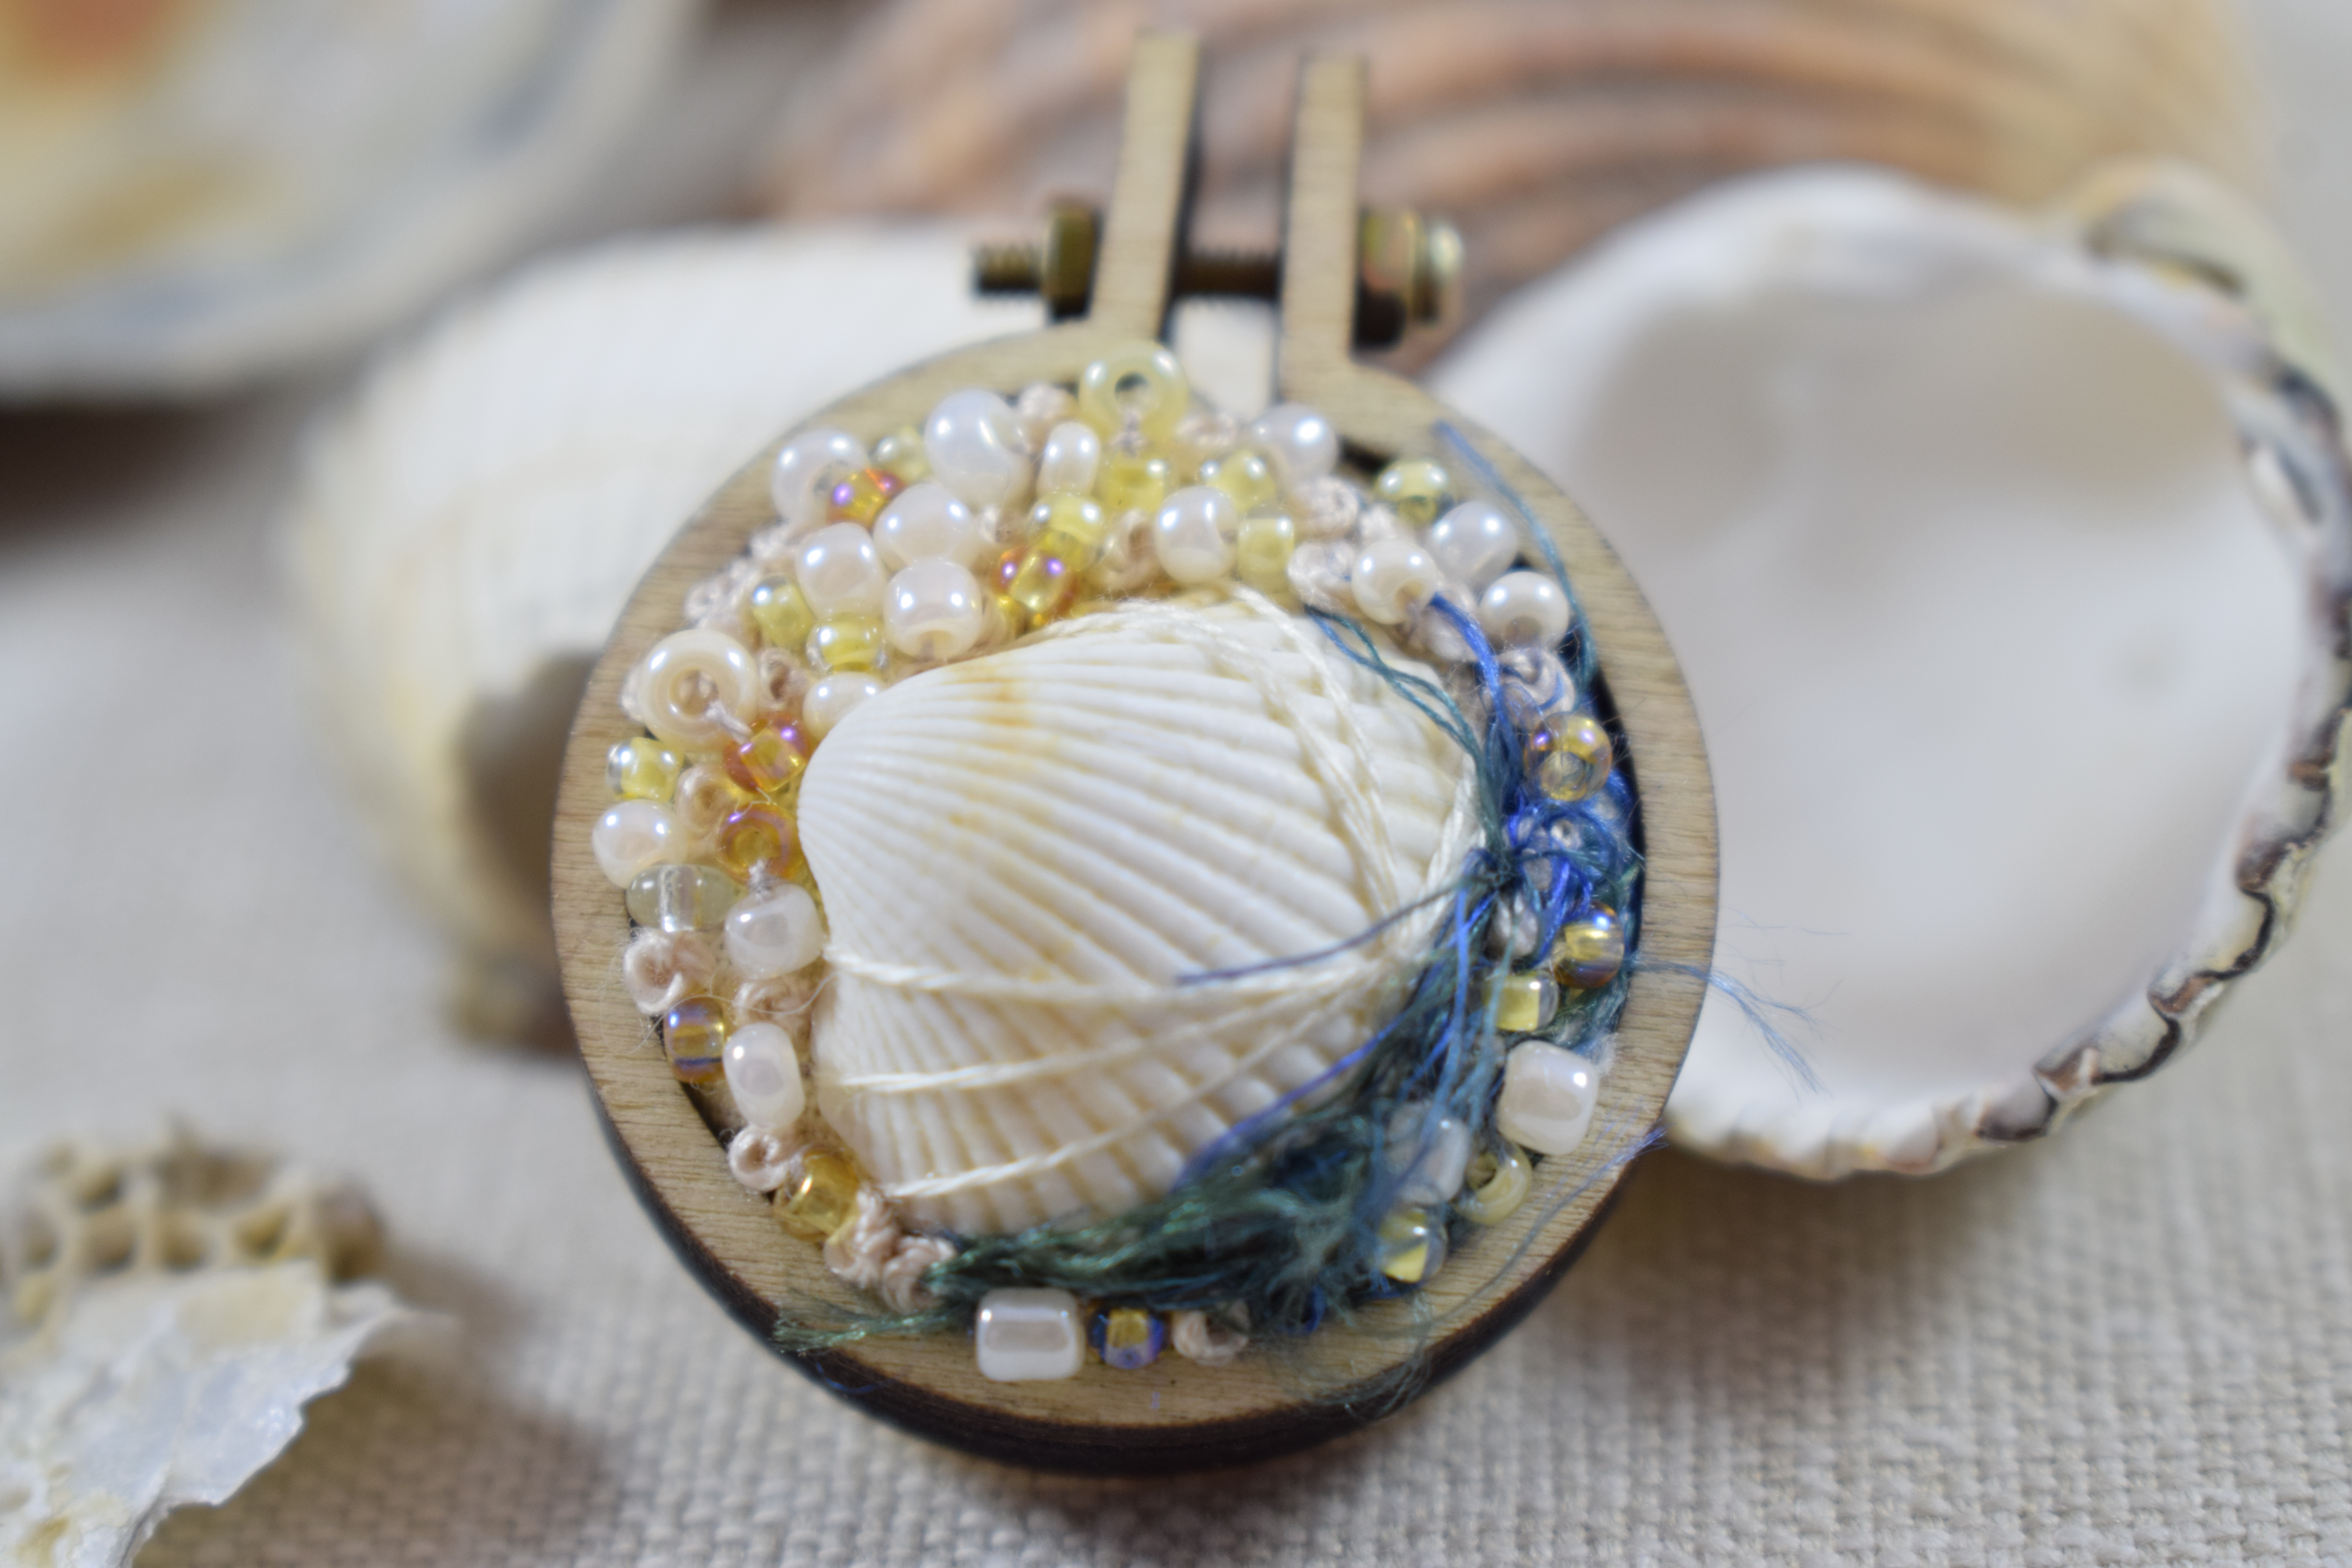
I've used this same technique with the larger piece below but this time also added some sticks of beads which again flop in different directions and almost brush against you like seaweed wrapping around your finger when you go swimming at the beach.


I had a comment on Facebook from a lovely lady who said that the size of these is very deceptive. When I was stitching them in the larger hoop she thought they were much larger than they actually are and when she saw them in a photo of them in my hand she realised how tiny they are. The large oval pieces are only 6cm/2.4" at their widest point and the smallest circular piece I made was 2cm/0.8" across so they are very little! And a lot of work for how little they are!

I tried something new on these shells. I've done many Stitchscapes now with real shells in, there's a video on my Youtube channel of how to attach shells to a Stitchscape if you would like to try it yourself (click here to see it), and they always end up with a thread across them - either around them to hold it in place if there are no holes to stitch them down sequin-style, or a few in different directions through the hole. From a distance you can't see these stitches if you match the thread to the shell colour and up close they aren't really a bother because they blend in but, sometimes it's nice not to see those at all so I tried adding extra stitches in green embroidery thread, then wrapping my needle around the stitches and linking in other stitches to create more of a web of green across the shell. This way you can't see the original thin stitch line at all and I love it! Definitely one to try at a later date with my next shell piece.


For the Limpet shells I filled them with a couple of layers of felt (cut into circles to fit inside the shell) and then topped the felt with lots of french knots. The reason for filling the shell first is to raise the level of the embroidery stitches rather than have them at the same level as the stitches on the outside of the shell. It works a treat and you can layer french knots on top of french knots too if you don't pull very hard when you make them so it kind of takes on a frothy appearance.


I really love these rockpool magnets and I hope you do too! I'd definitely like to make some more when I build my shell collection up again. I shall be looking for the smolest - some of these are smaller than my fingernails - and sturdiest of shells in the prettiest of colours!

No comments:
Post a Comment